For the complete documentation index, see llms.txt. This page is also available as Markdown.

📱Using the Go Mobile App

You will need the Looking Glass mobile app if you intend to use your Looking Glass Go untethered from a computer and for syncing holograms to your device over WiFi.

To start, download the Looking Glass mobile app for iOS or Android using the options below.

Install the Android APK

  1. Select Download the Looking Glass Go app for Android (APK) above.

  2. Open the downloaded APK from your browser's downloads or the Files app.

  3. If Android blocks the installation, open the prompt's settings and temporarily allow that browser or Files app to Install unknown apps.

  4. Return to the APK and complete the installation.

  5. Turn Install unknown apps off again for that browser or Files app.

For optional file verification, the APK's SHA-256 checksum is 3FC69E5CA81E64288D16FFAF5449ED15AC5D2BD6D4732B98296358EFB8A85A9F.

Once you've downloaded the Mobile App, follow the on-screen instructions to connect your Go to WiFi.

Connecting your Looking Glass Go to WiFi

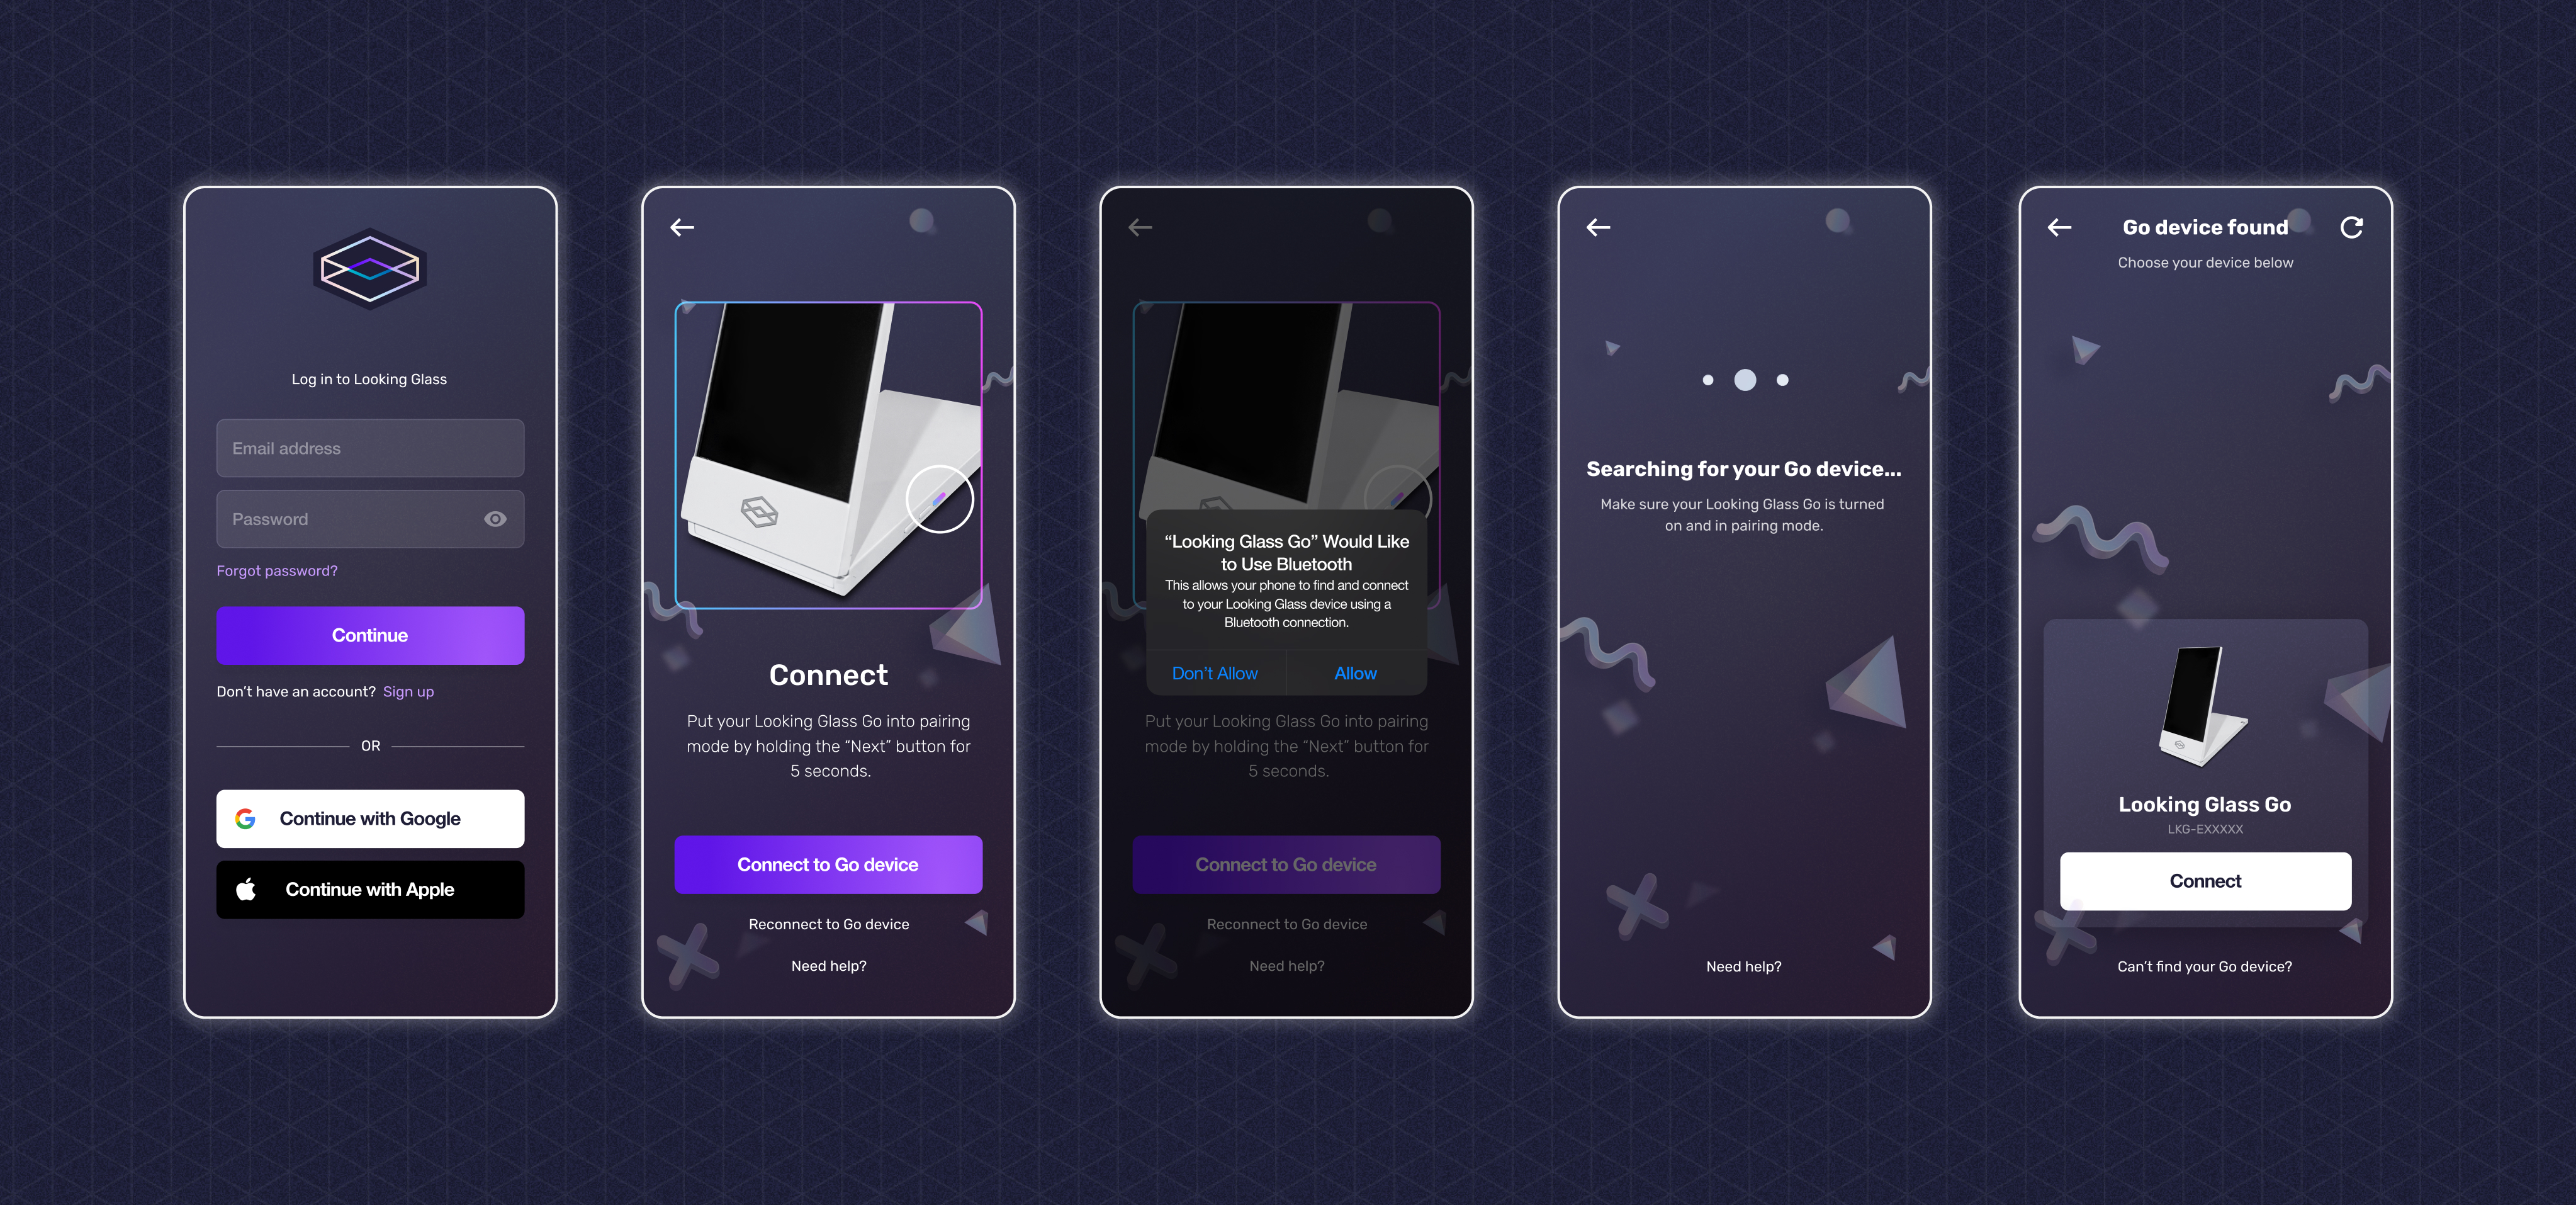
  1. Sign up / login to your Looking Glass account.

  2. Connect to a Go device by following the instructions on the screen.

  3. Ensure that the Bluetooth connection on your phone is on and ready to pair with new devices.

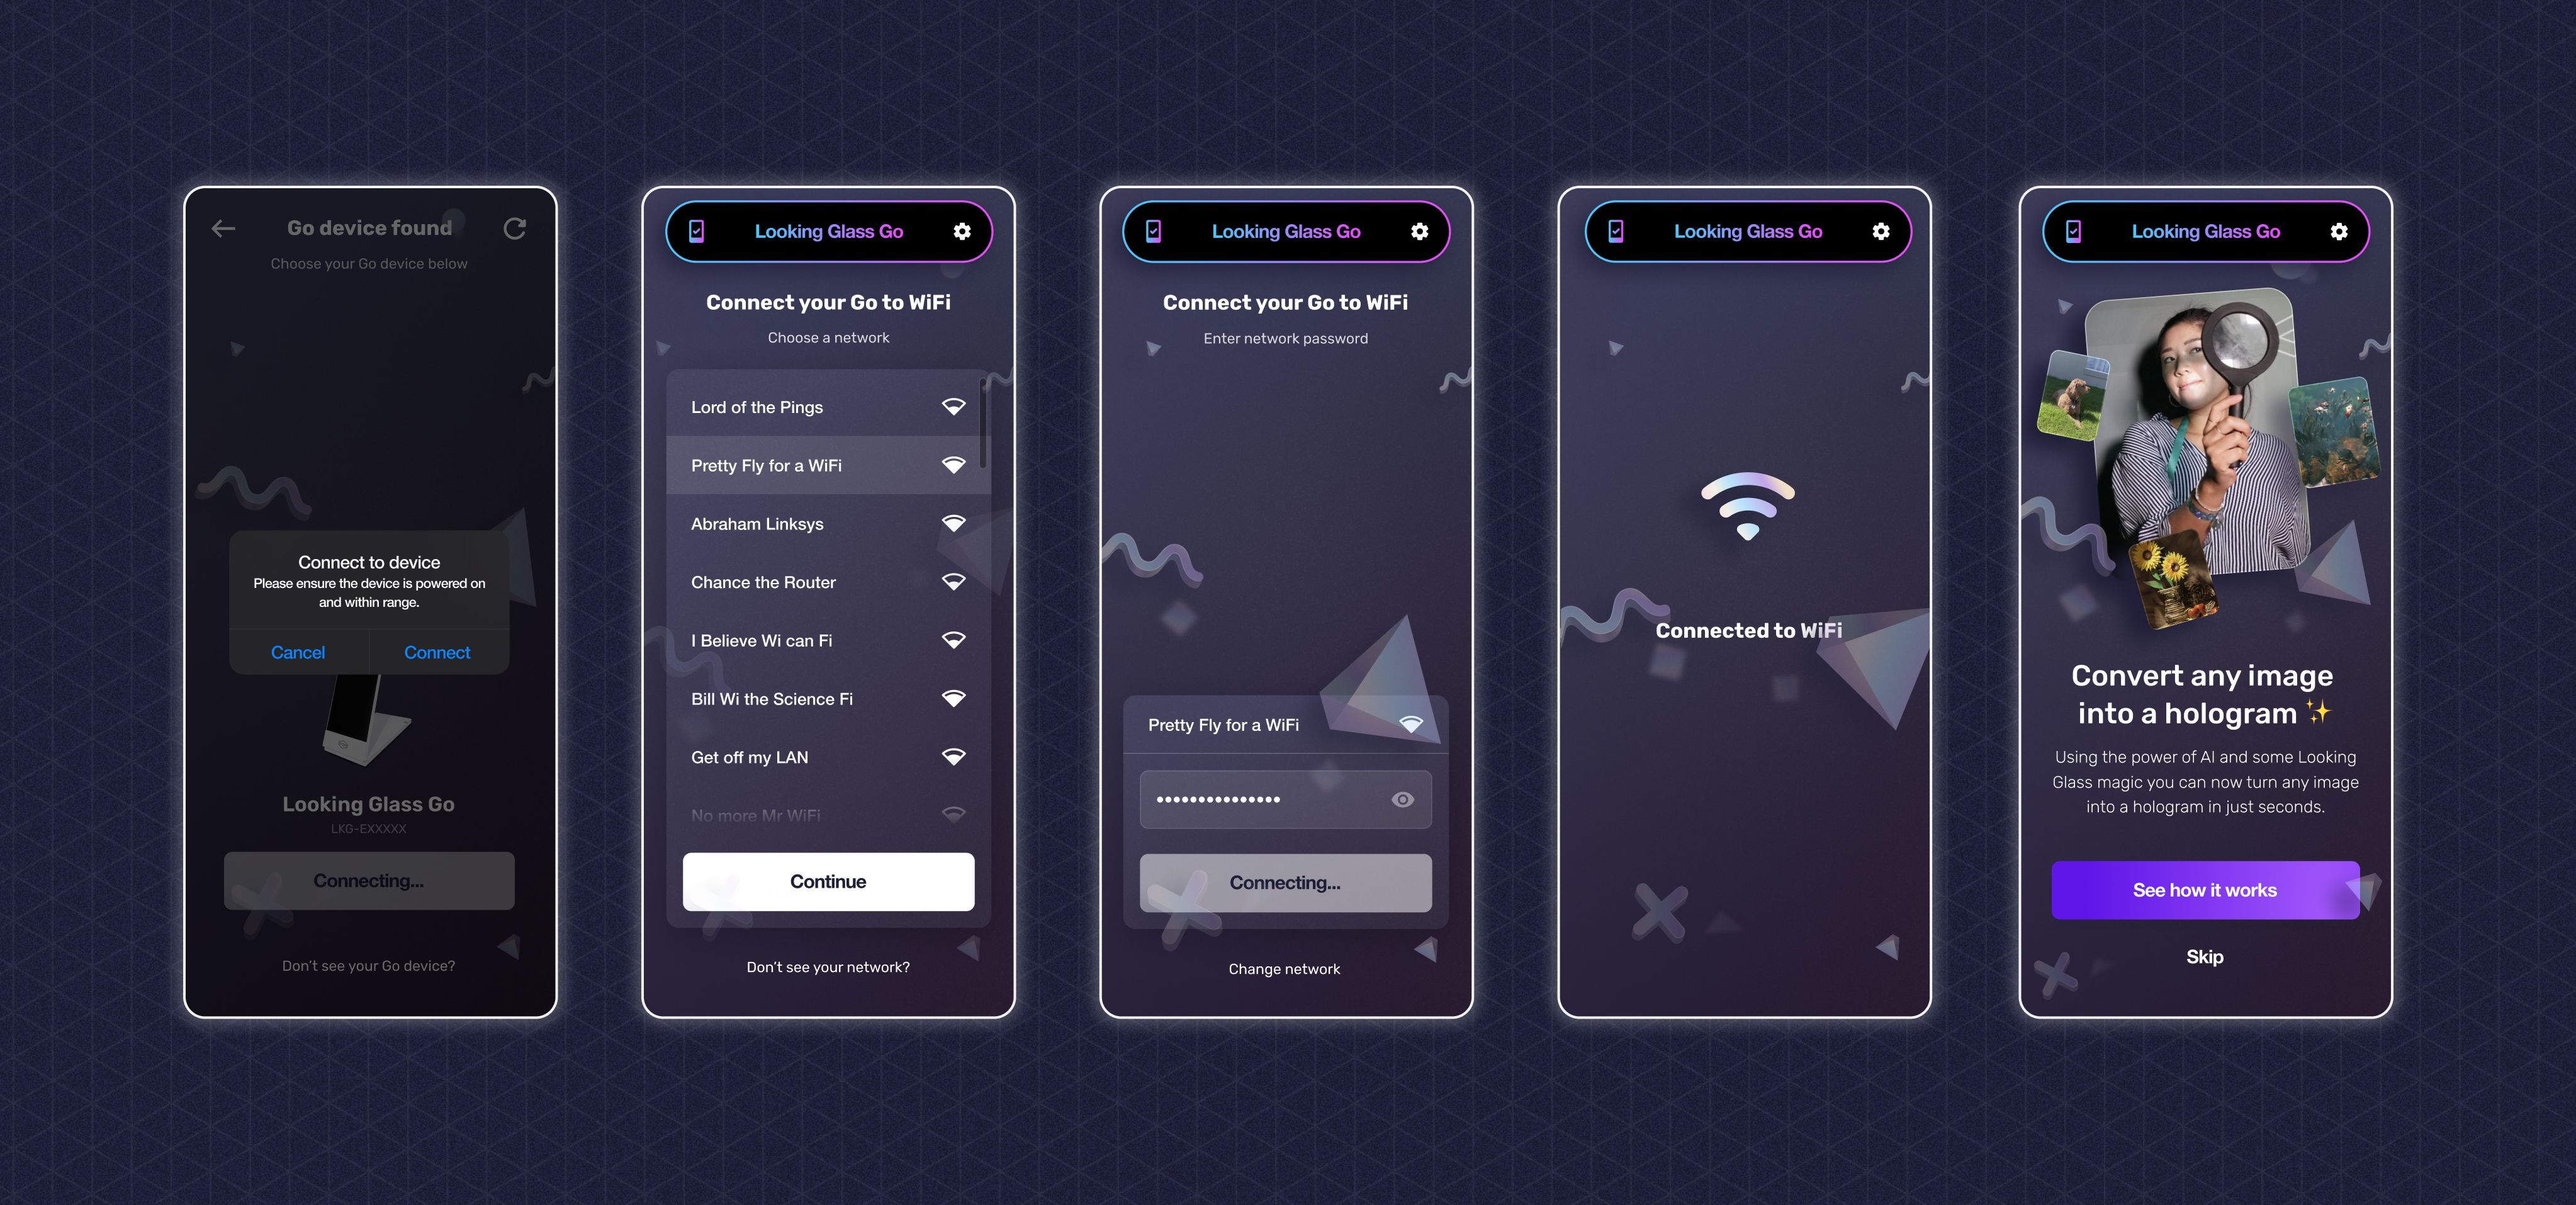
  4. Your Go device will show up when ready to connect. To confirm that the serial number matches the ones to your device, check the sticker on the bottom of your Looking Glass Go.

  1. Once you hit Connect , a list of your WiFi networks will show up. Connect to your WiFi network and enter its password.

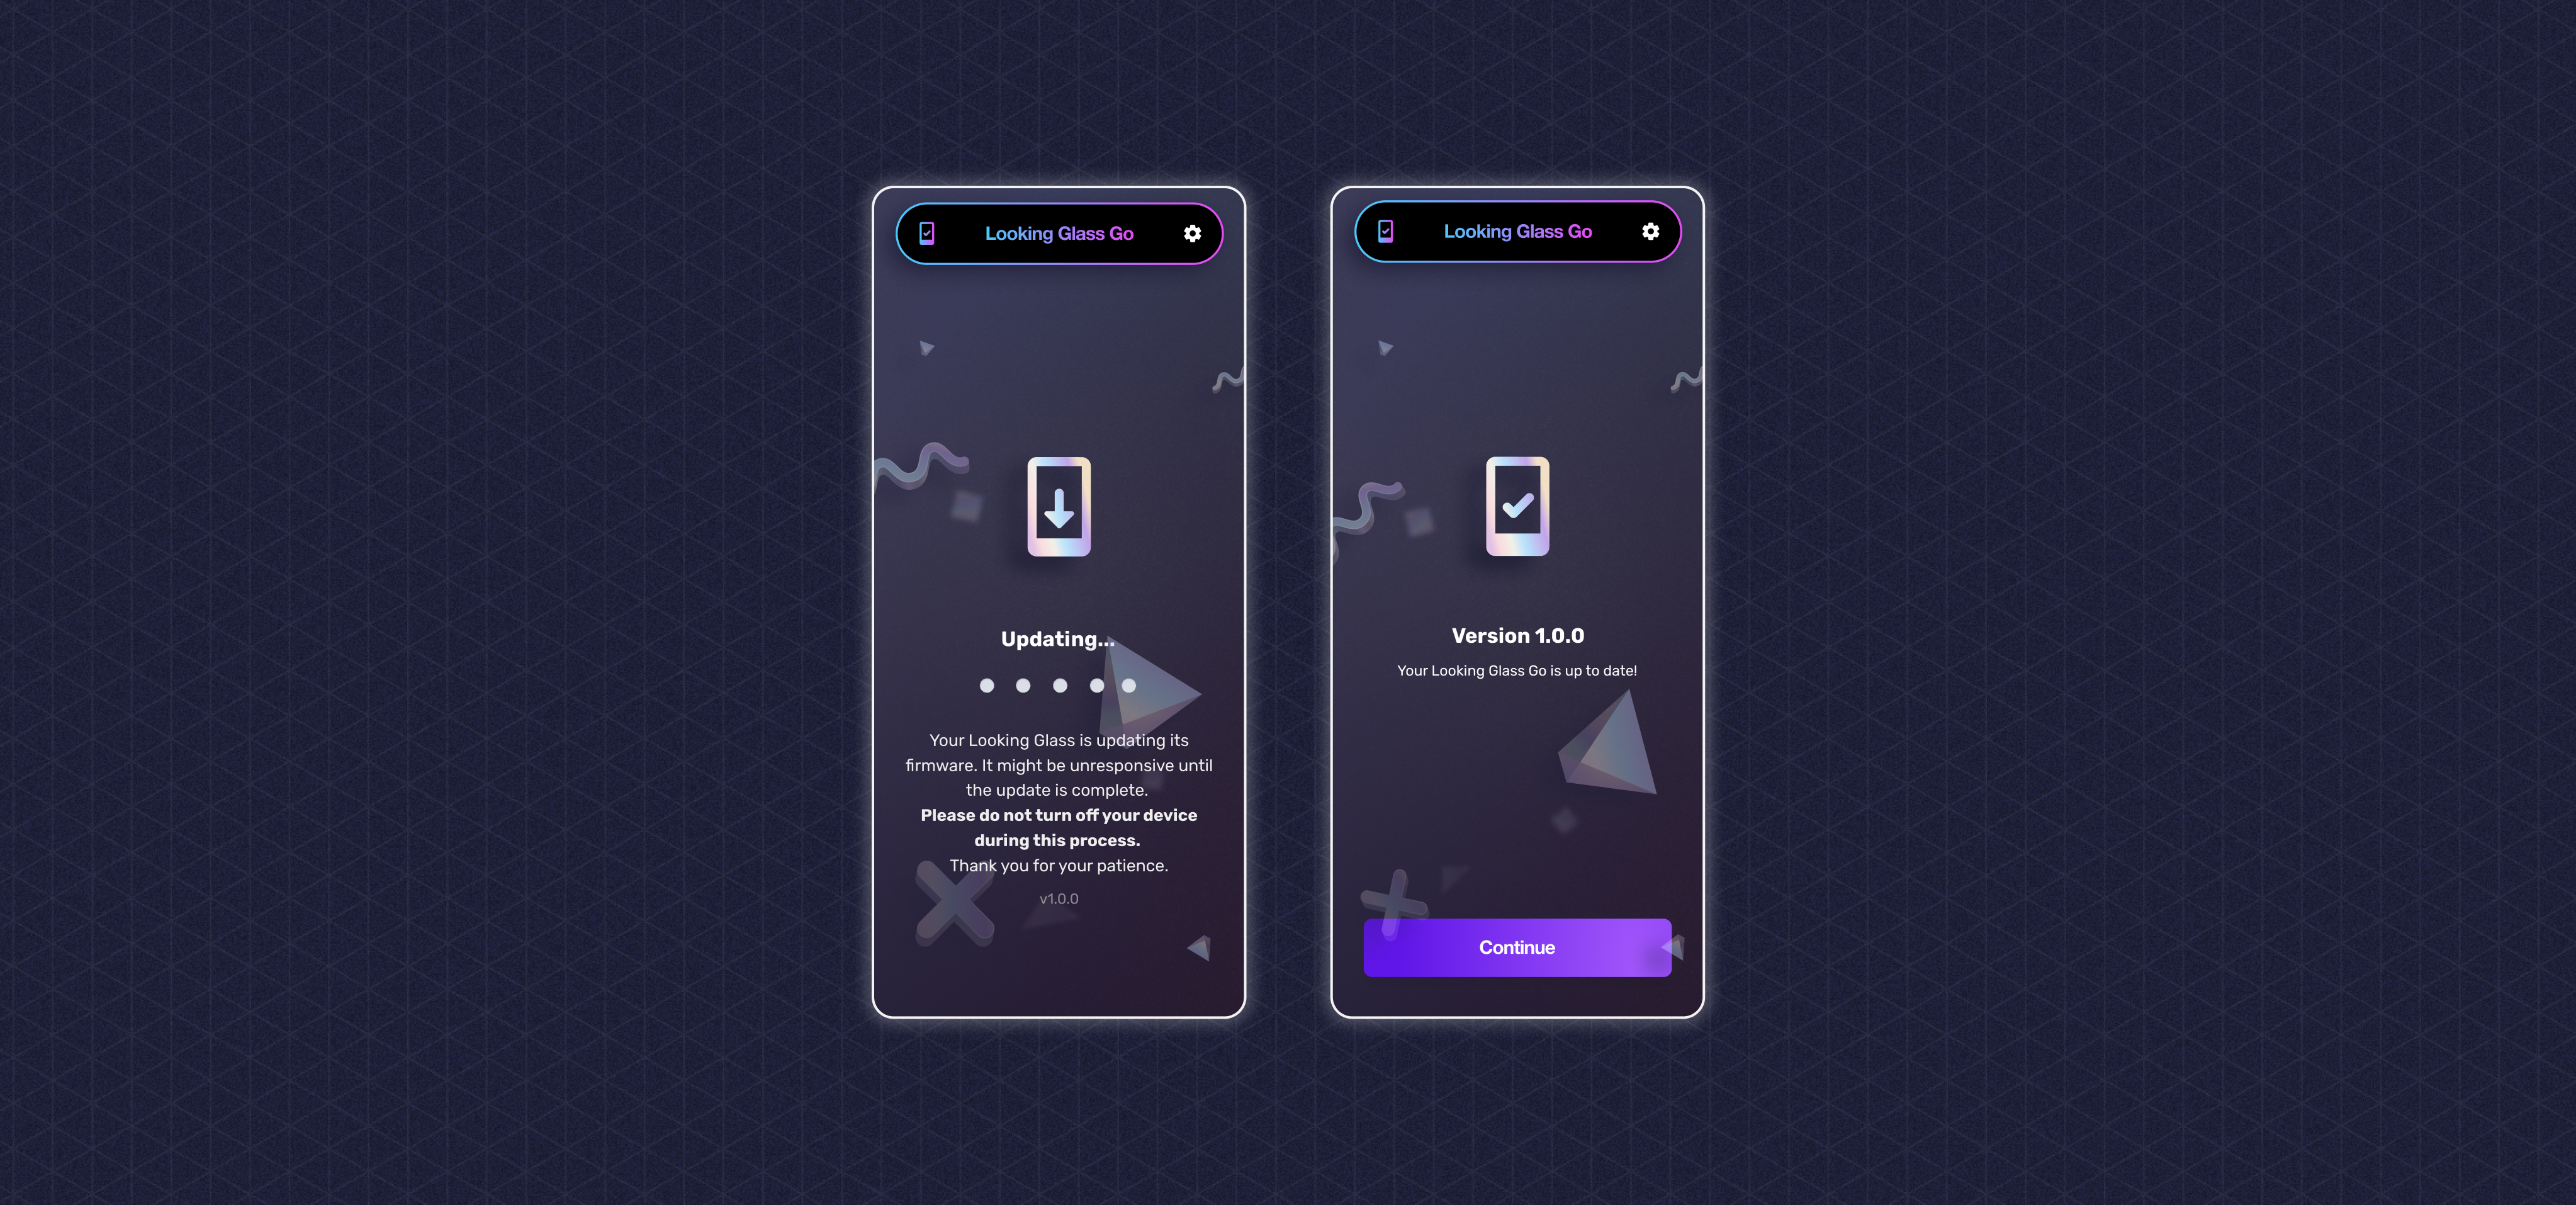
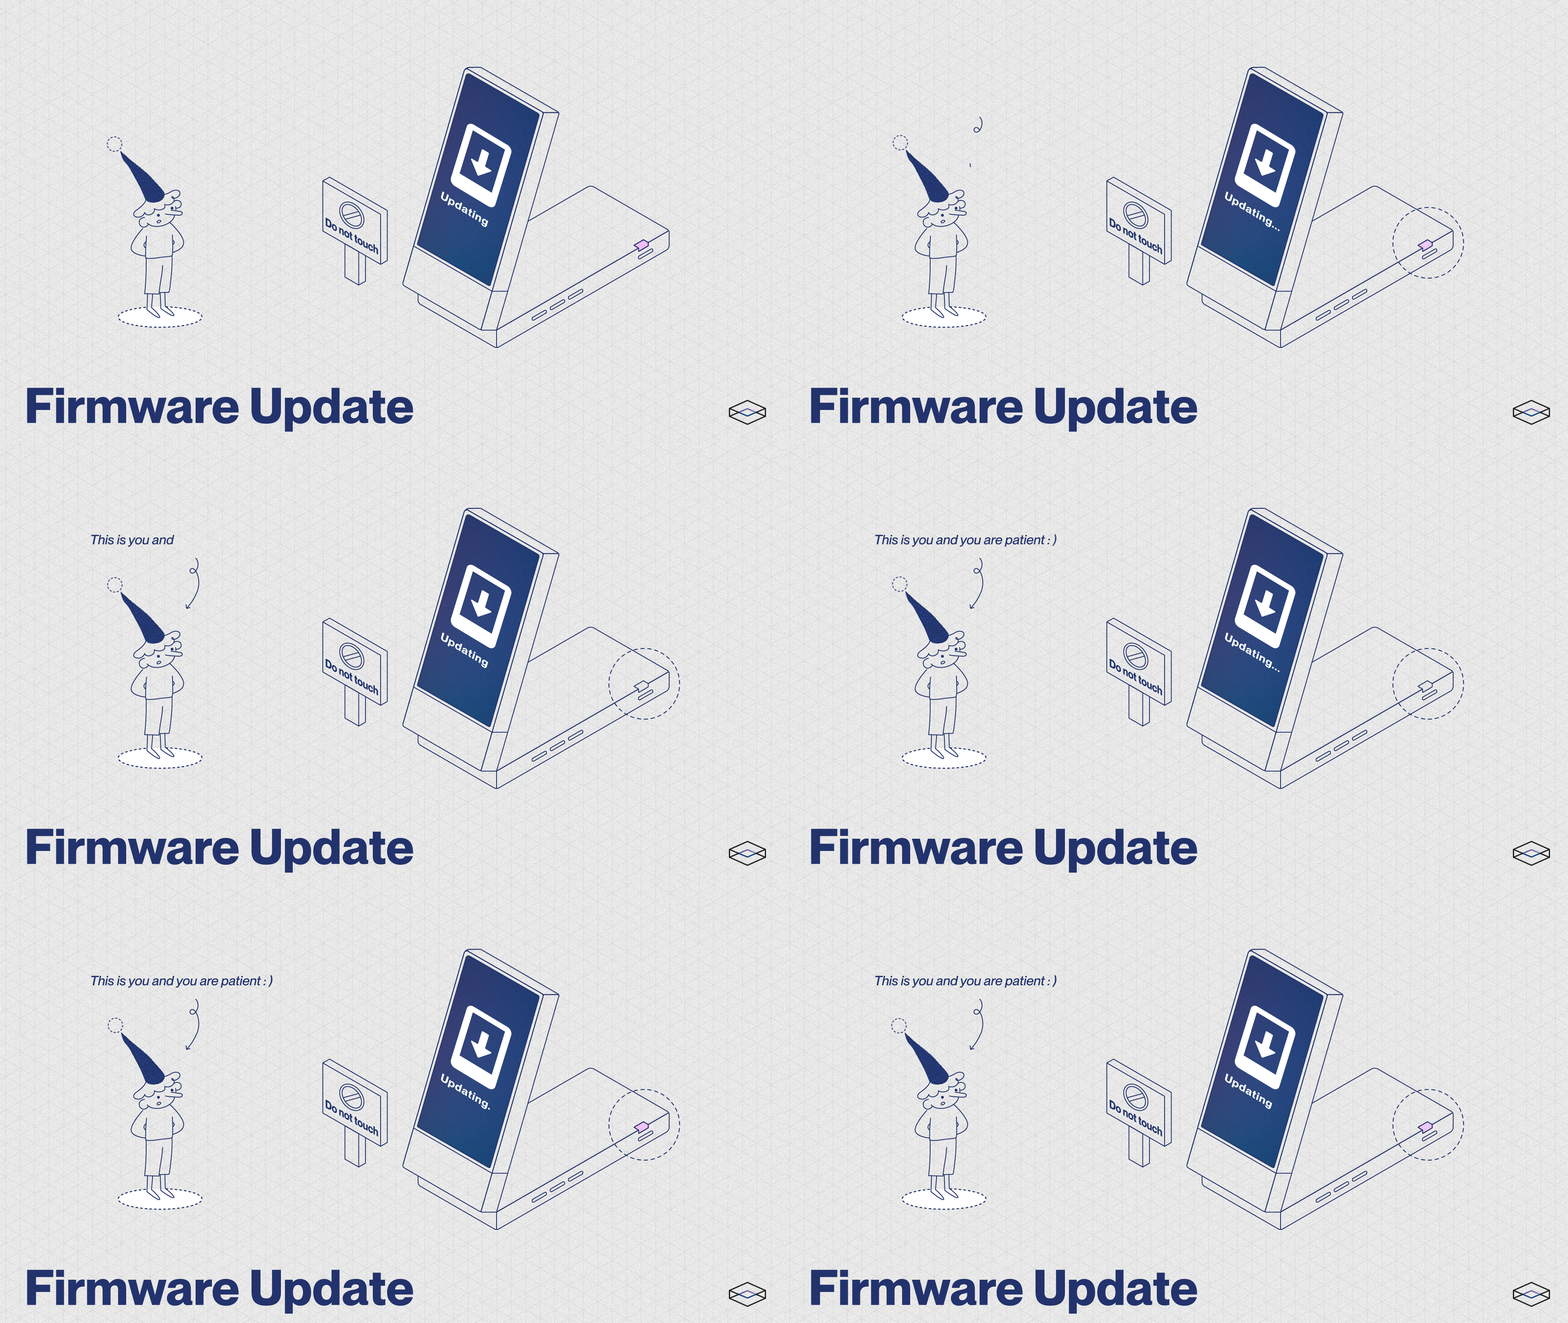
When you connect your Go to WiFi for the very first time, you will be notified that your Go is performing a firmware update. Do not touch your device during this update.

Firmware Updates

Looking Glass Go will periodically receive OTA (over-the-air) updates via its WiFi connection.

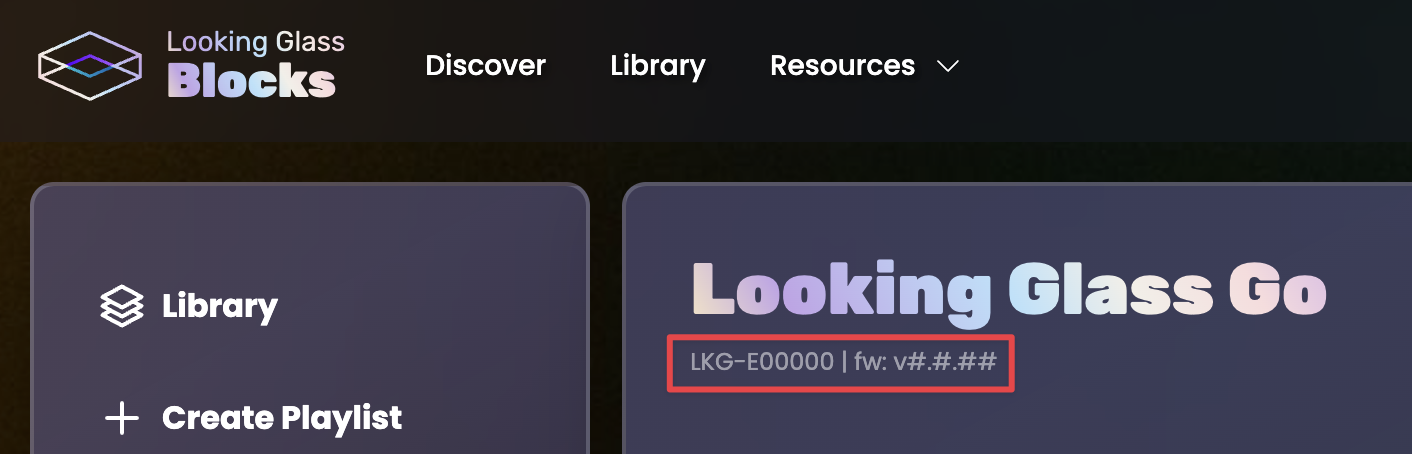
Firmware Version

You can find your device's firmware version in your Library, next to your Go's serial number

Uploading Holograms onto your Looking Glass Go

Uploading your first hologram

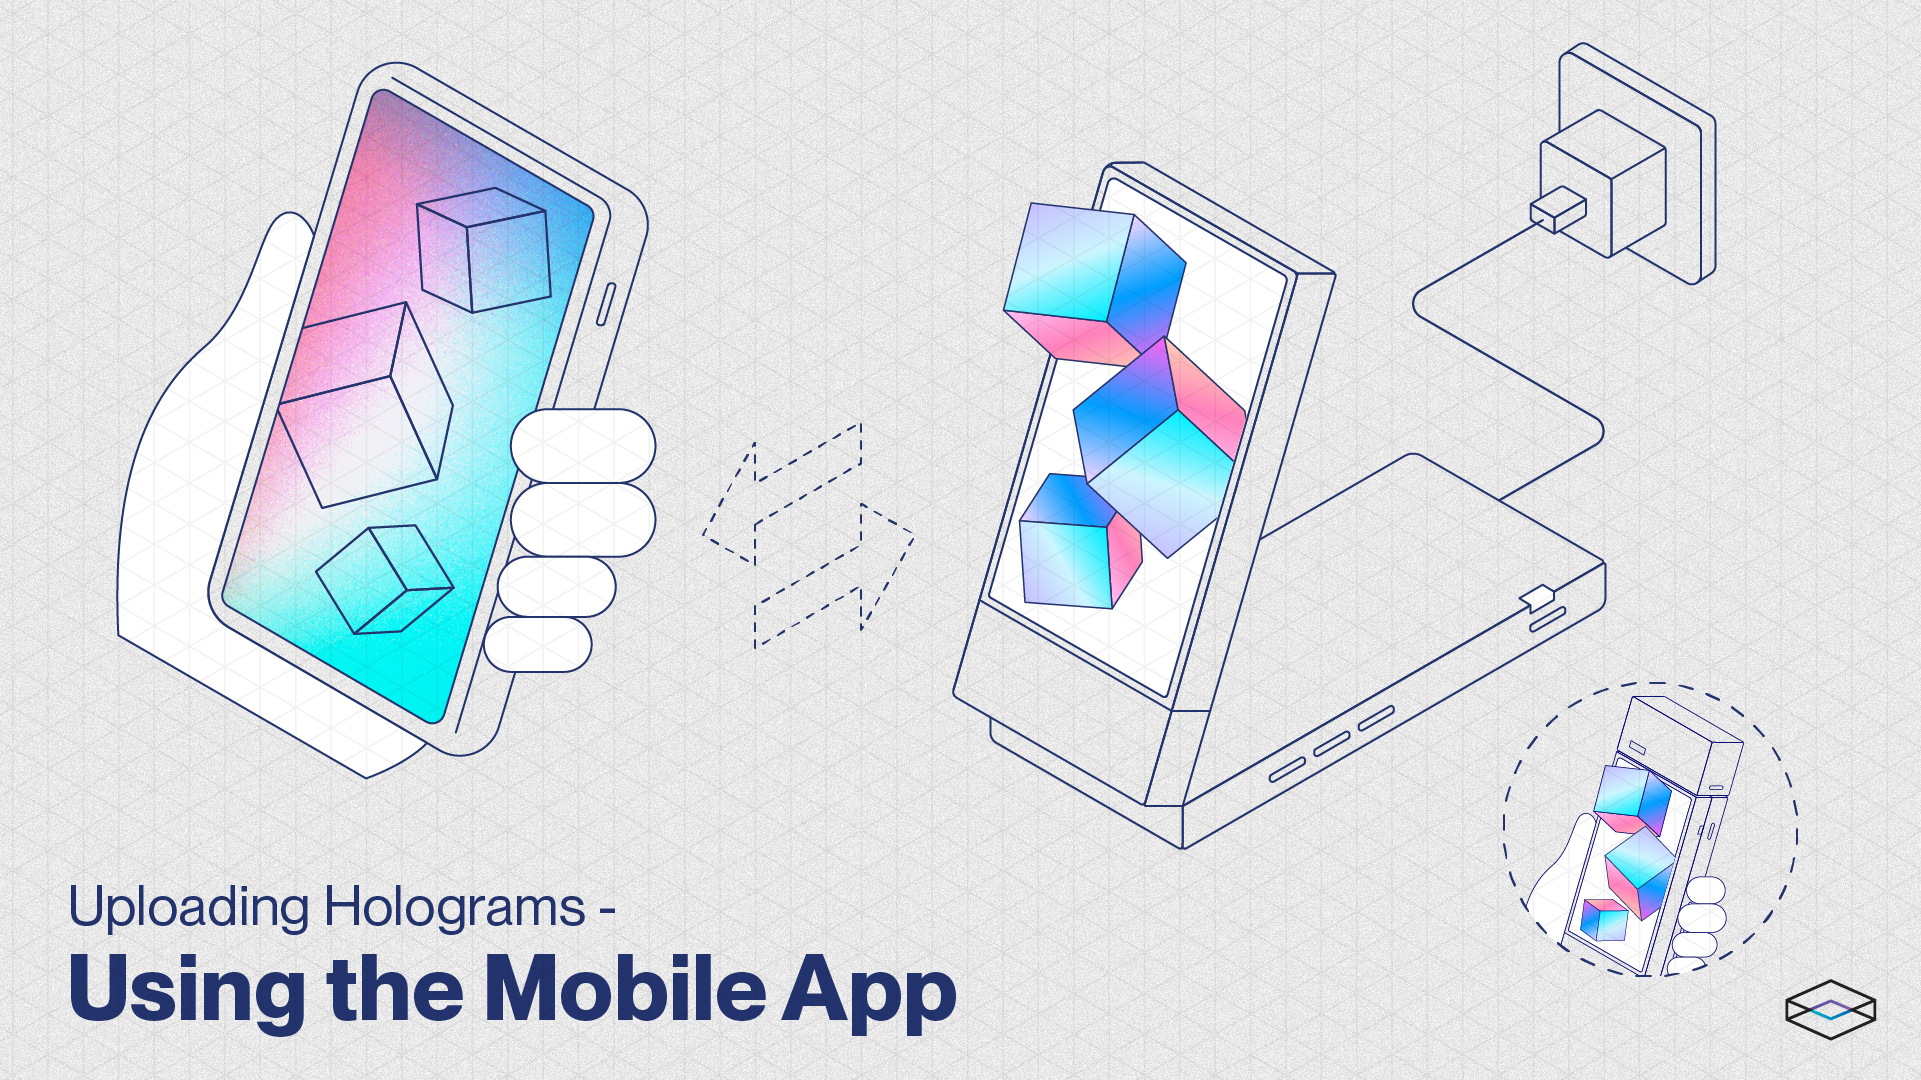
Once you are connected to your Looking Glass account and WiFi, you can start uploading new holograms to your Looking Glass Go using the mobile app.

  1. To upload your first photo, hit Select photos to convert

  2. If you are using an iPhone, Allow Access to All Photos or Select Photo...

  3. Choose an image that you want to upload and convert

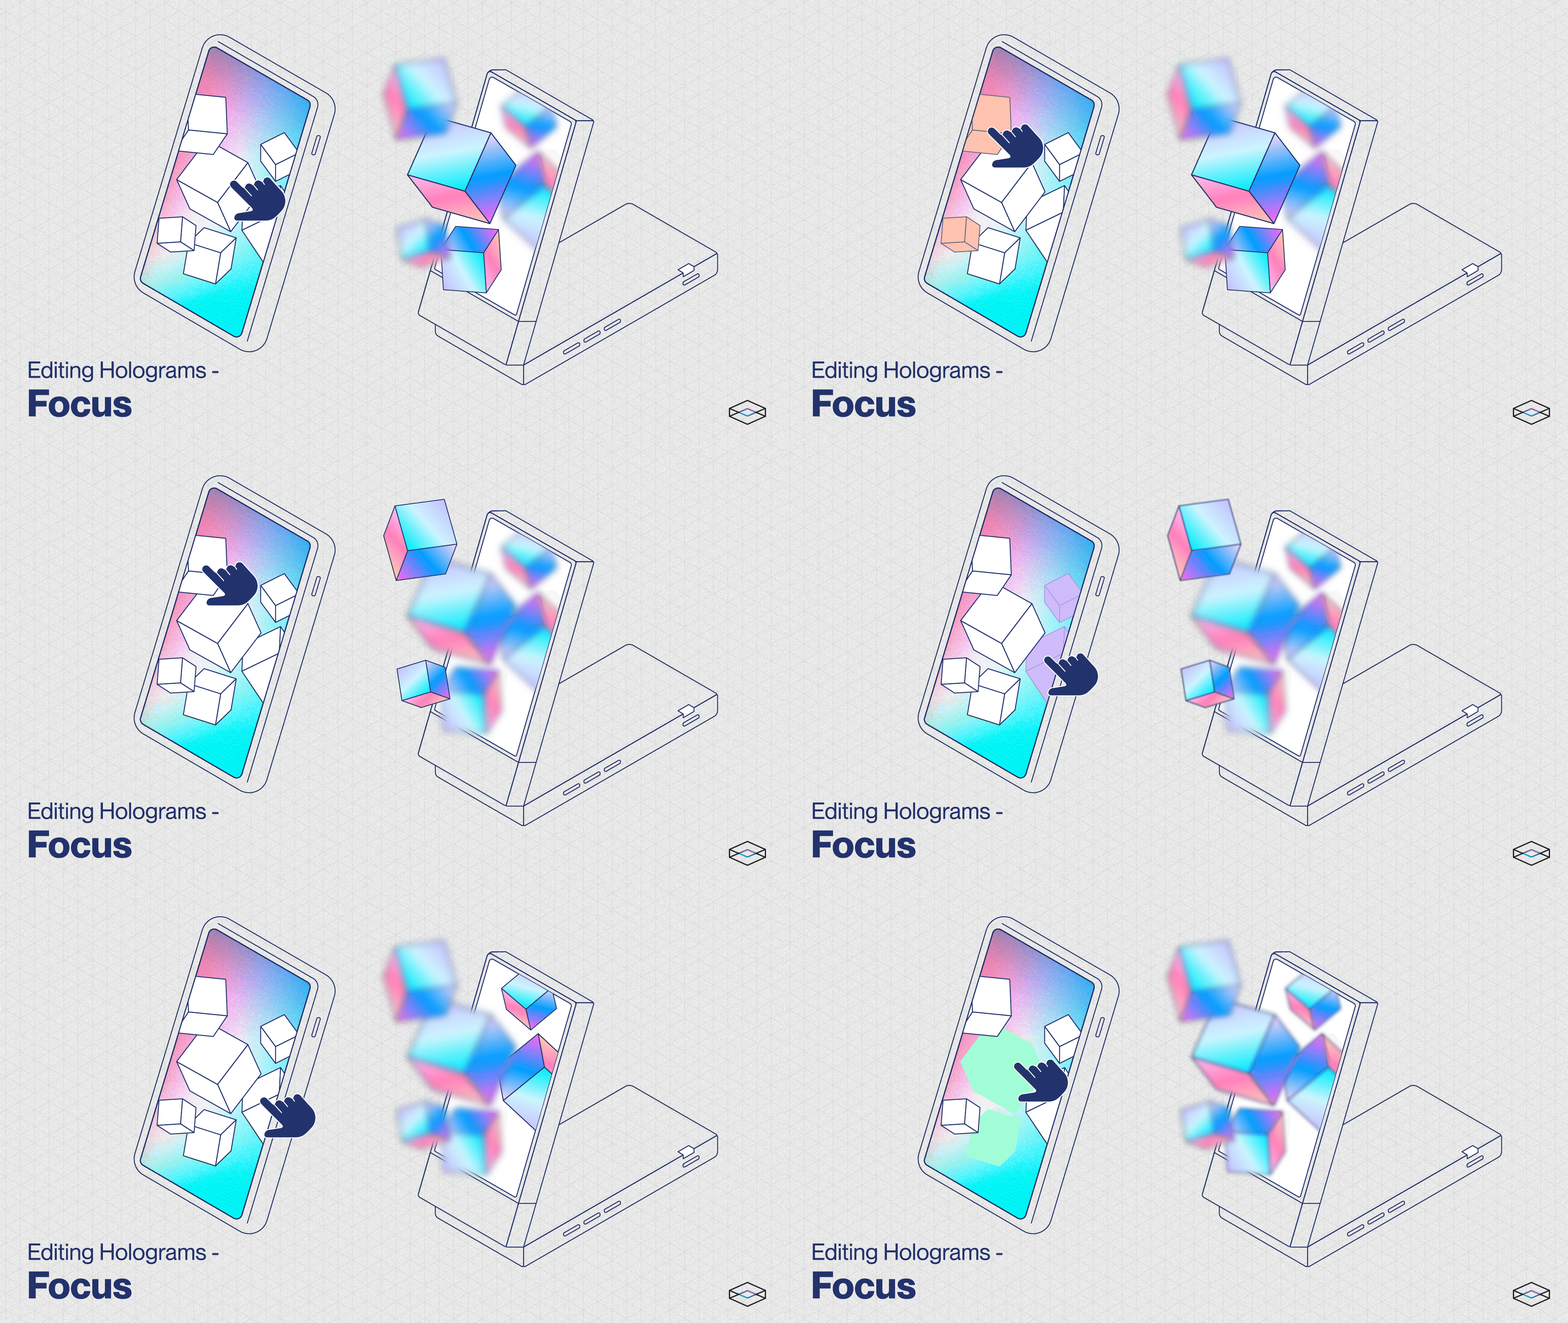
  4. Once your photo has been uploaded, hit Focus holograms to start the editing process. The output of our AI depth generation may vary, so you may want or need to edit the resulting hologram

Editing Holograms

To select the point of focus of your hologram, tap or click on the subject you wish to be most in focus and our AI algorithm will adjust the focal point of the hologram. This is something that will take a bit of practice over time, but for most portrait photos of people, we recommend determining the subject of the photo and making sure that you tap to focus on focal points like eyes.

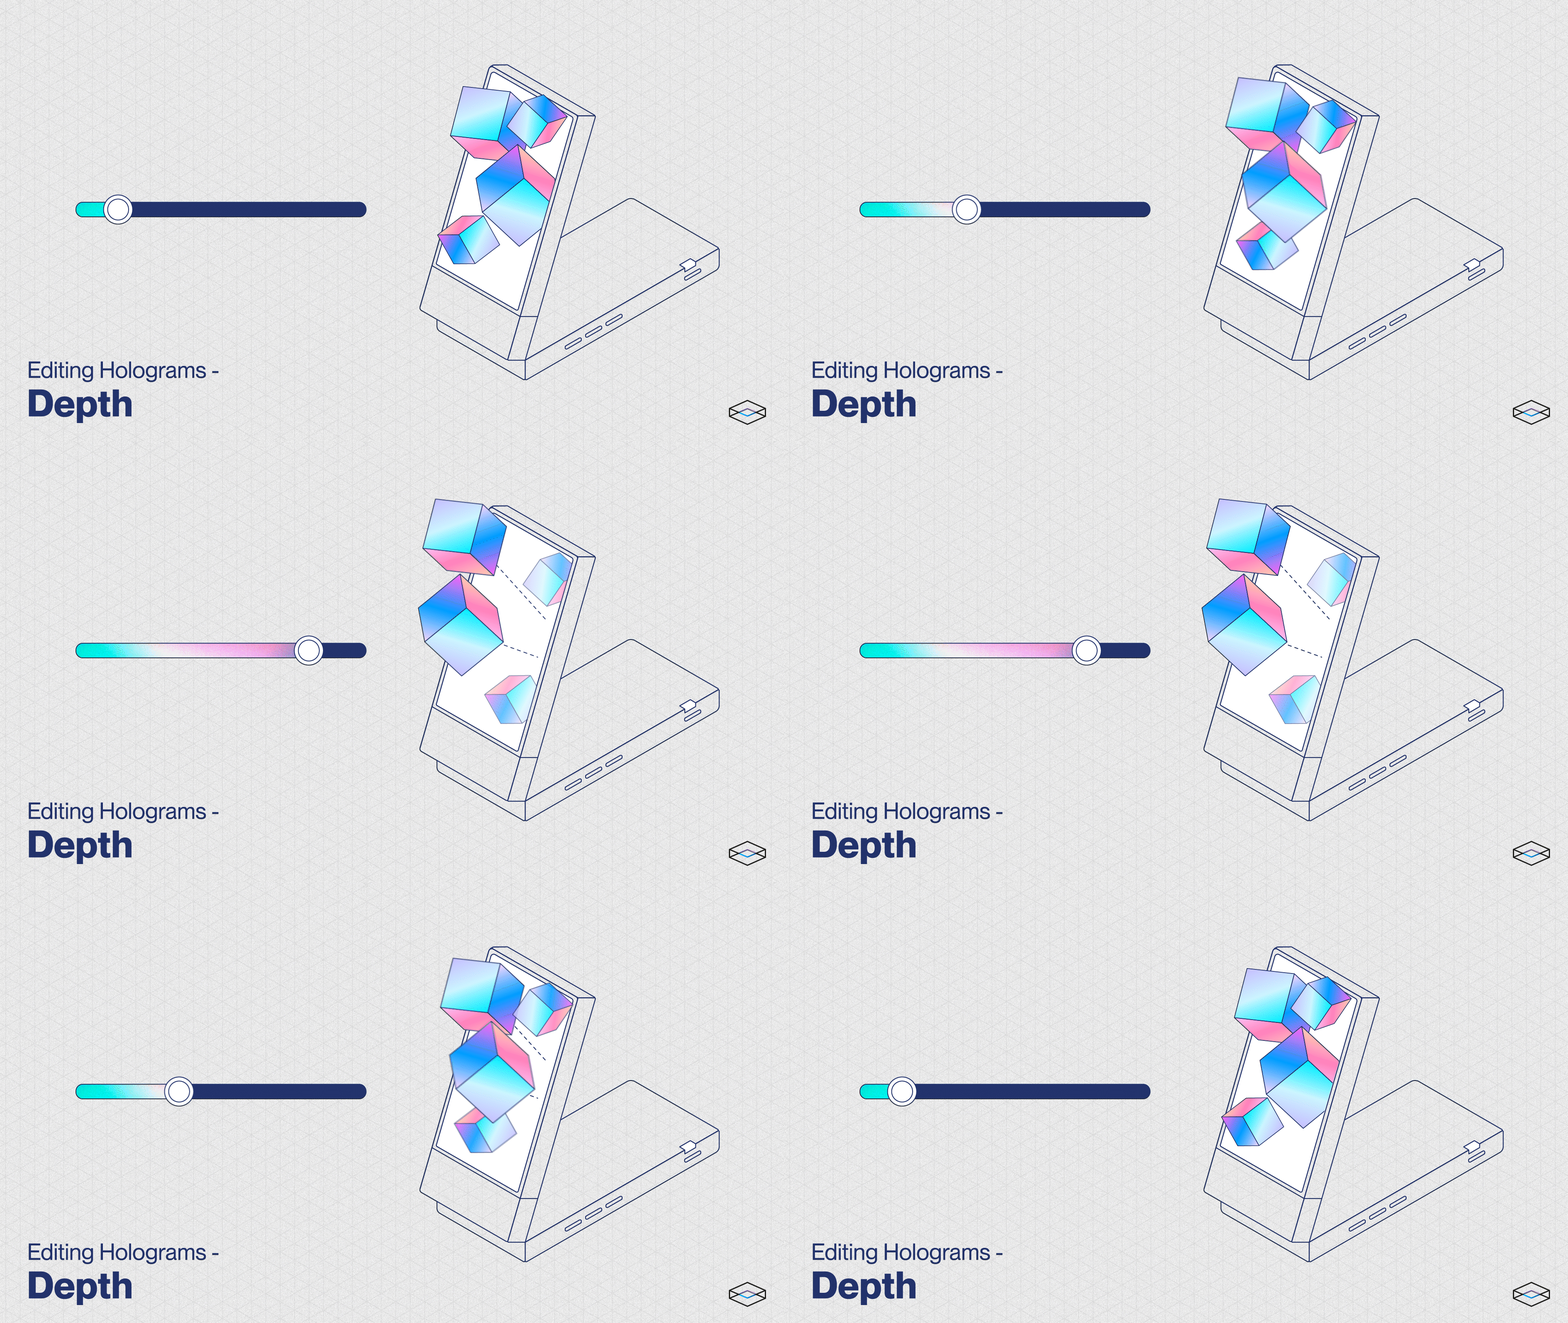
The depth slider changes how far forward from the display you want your photo to stretch. To change the depth of your hologram, use the slider to indicate whether you want the hologram to have more or less depth.

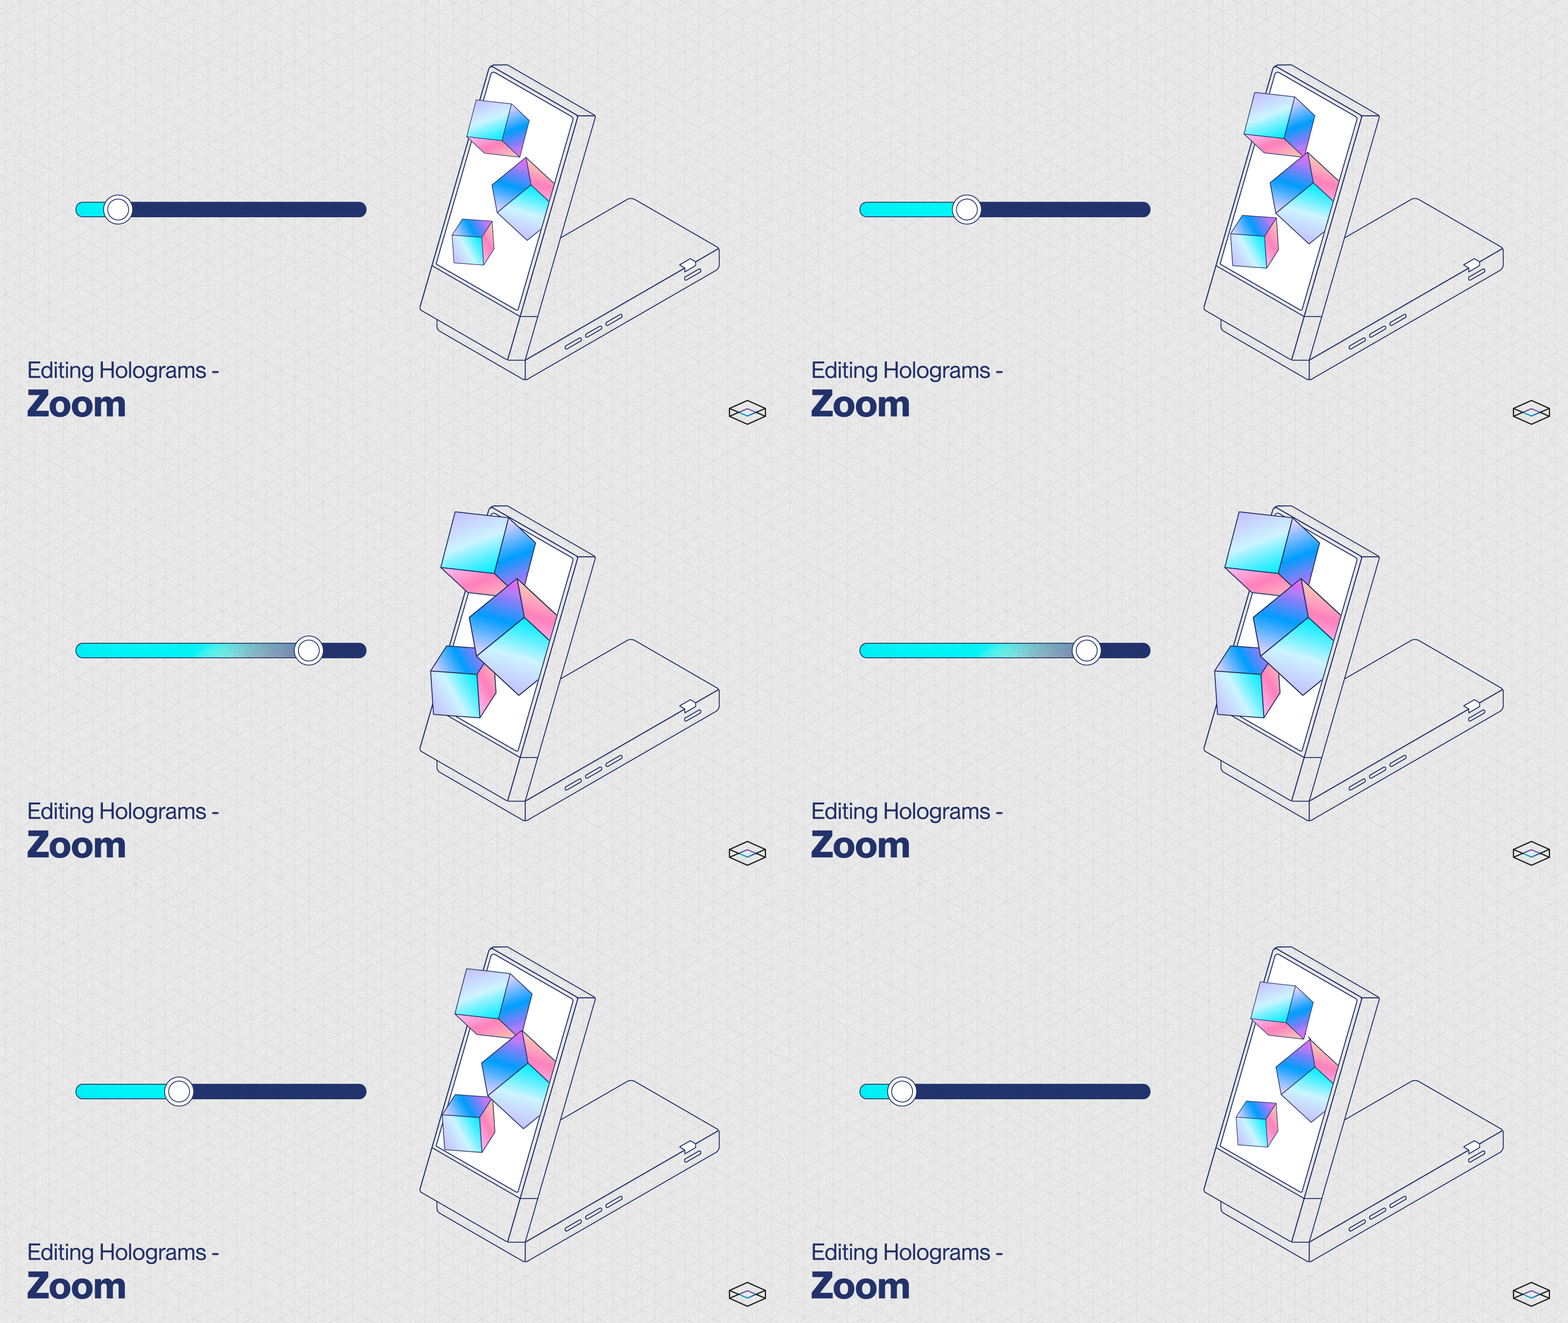
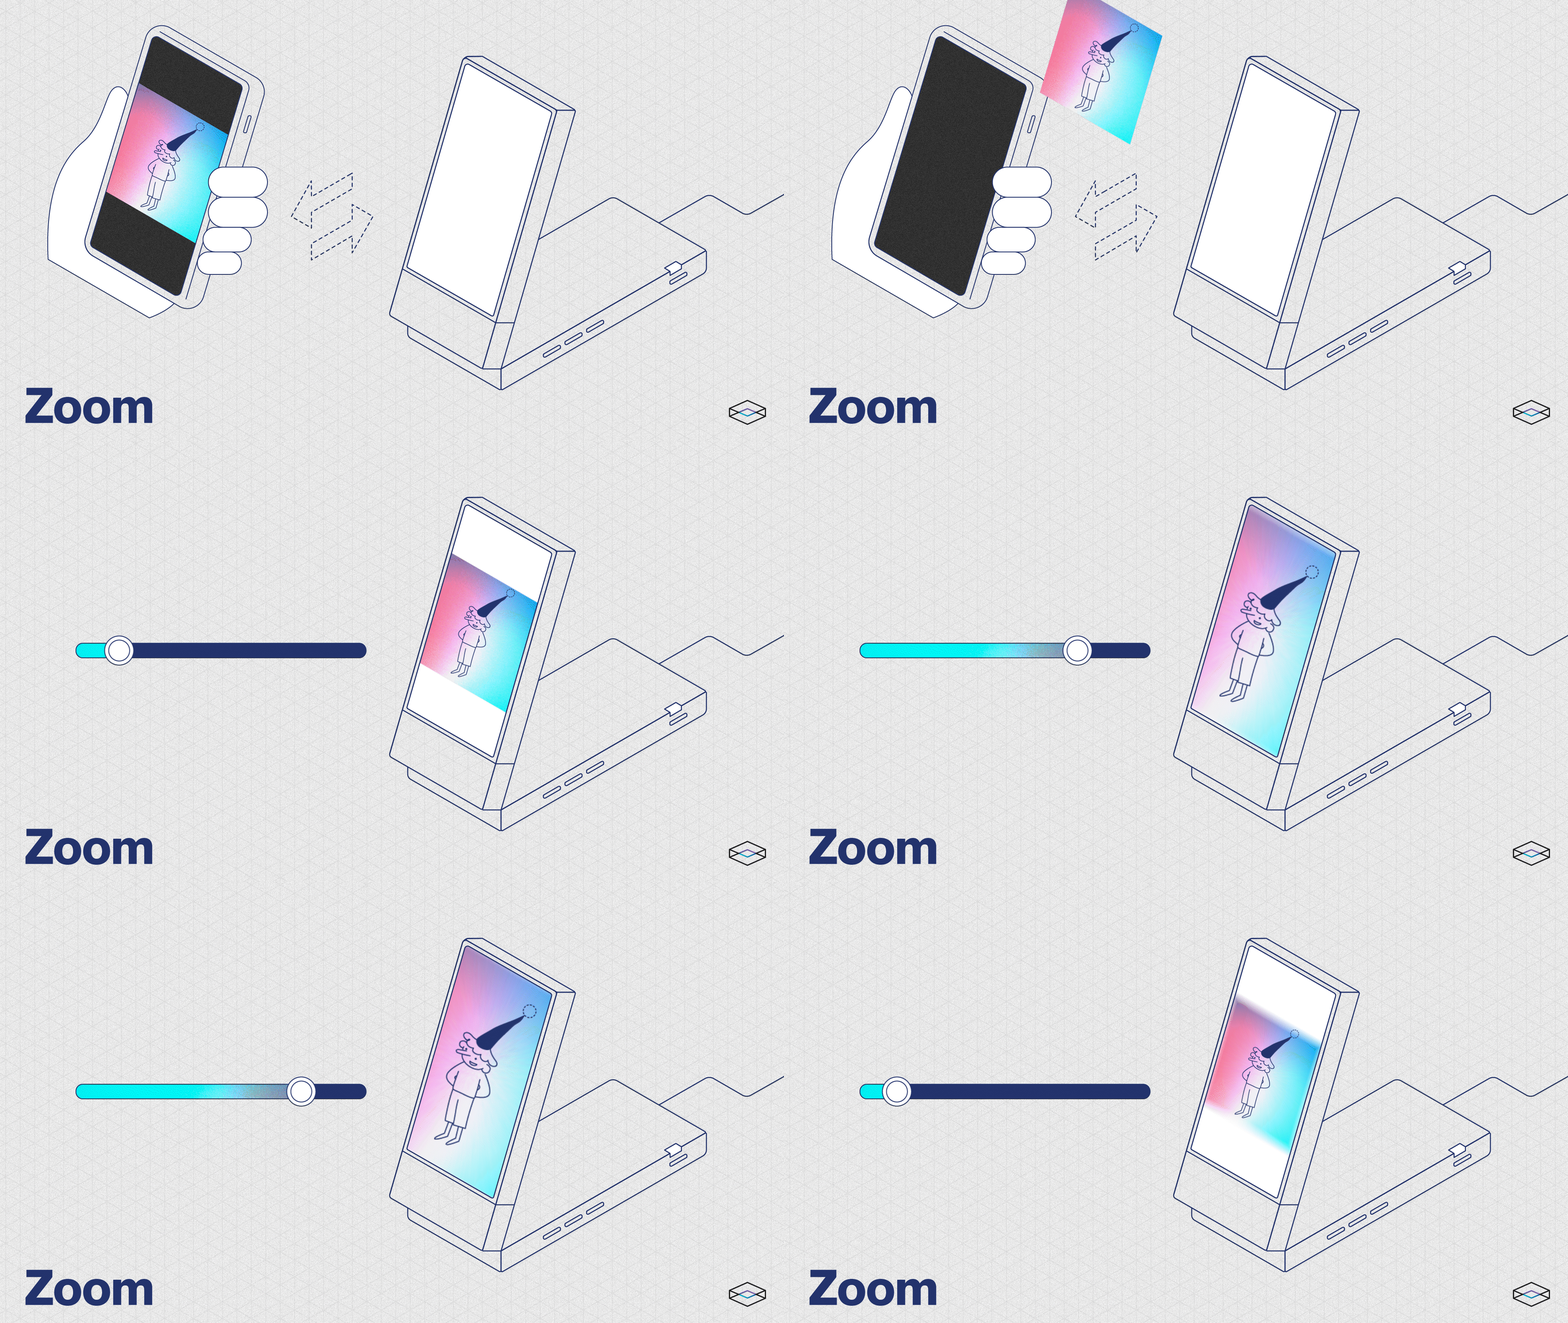
The Zoom slider controls how cropped in your image is. The Looking Glass Go has a screen resolution of 9:16, so if your photos are in a 3:4 ratio, you might want to zoom in your images a little bit to eliminate the black bars at the top and bottom of the screen.

Use the slider to indicate whether you want the hologram to be zoomed in (which will crop the image) or zoomed out.

Managing Playlists

Now that you've made your first holograms, it's time to create a playlist! To do so, you'll first need to head over to Looking Glass Blocks — our holographic sharing platform.

The Go app is directly tied to your Blocks account, so with the same username and password, you'll now have two places to create and edit your playlists: in-app and via desktop.

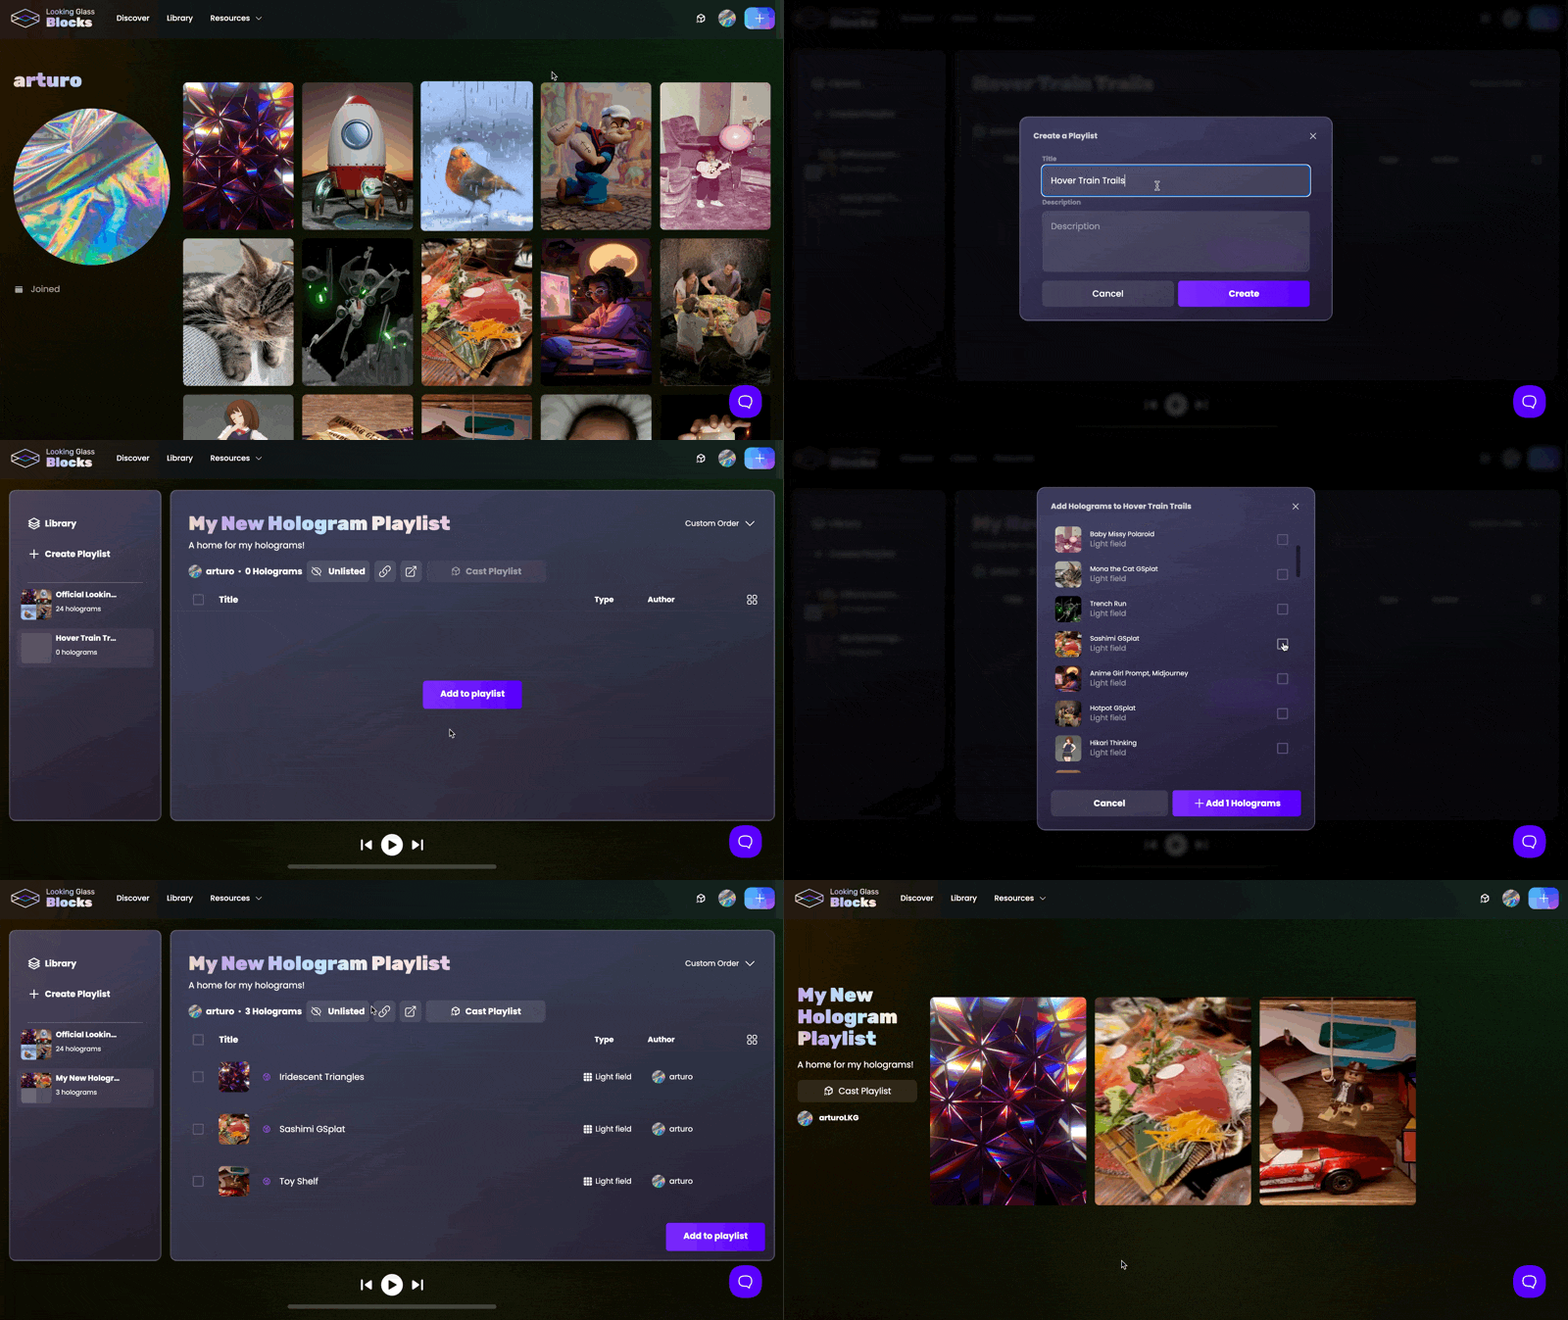
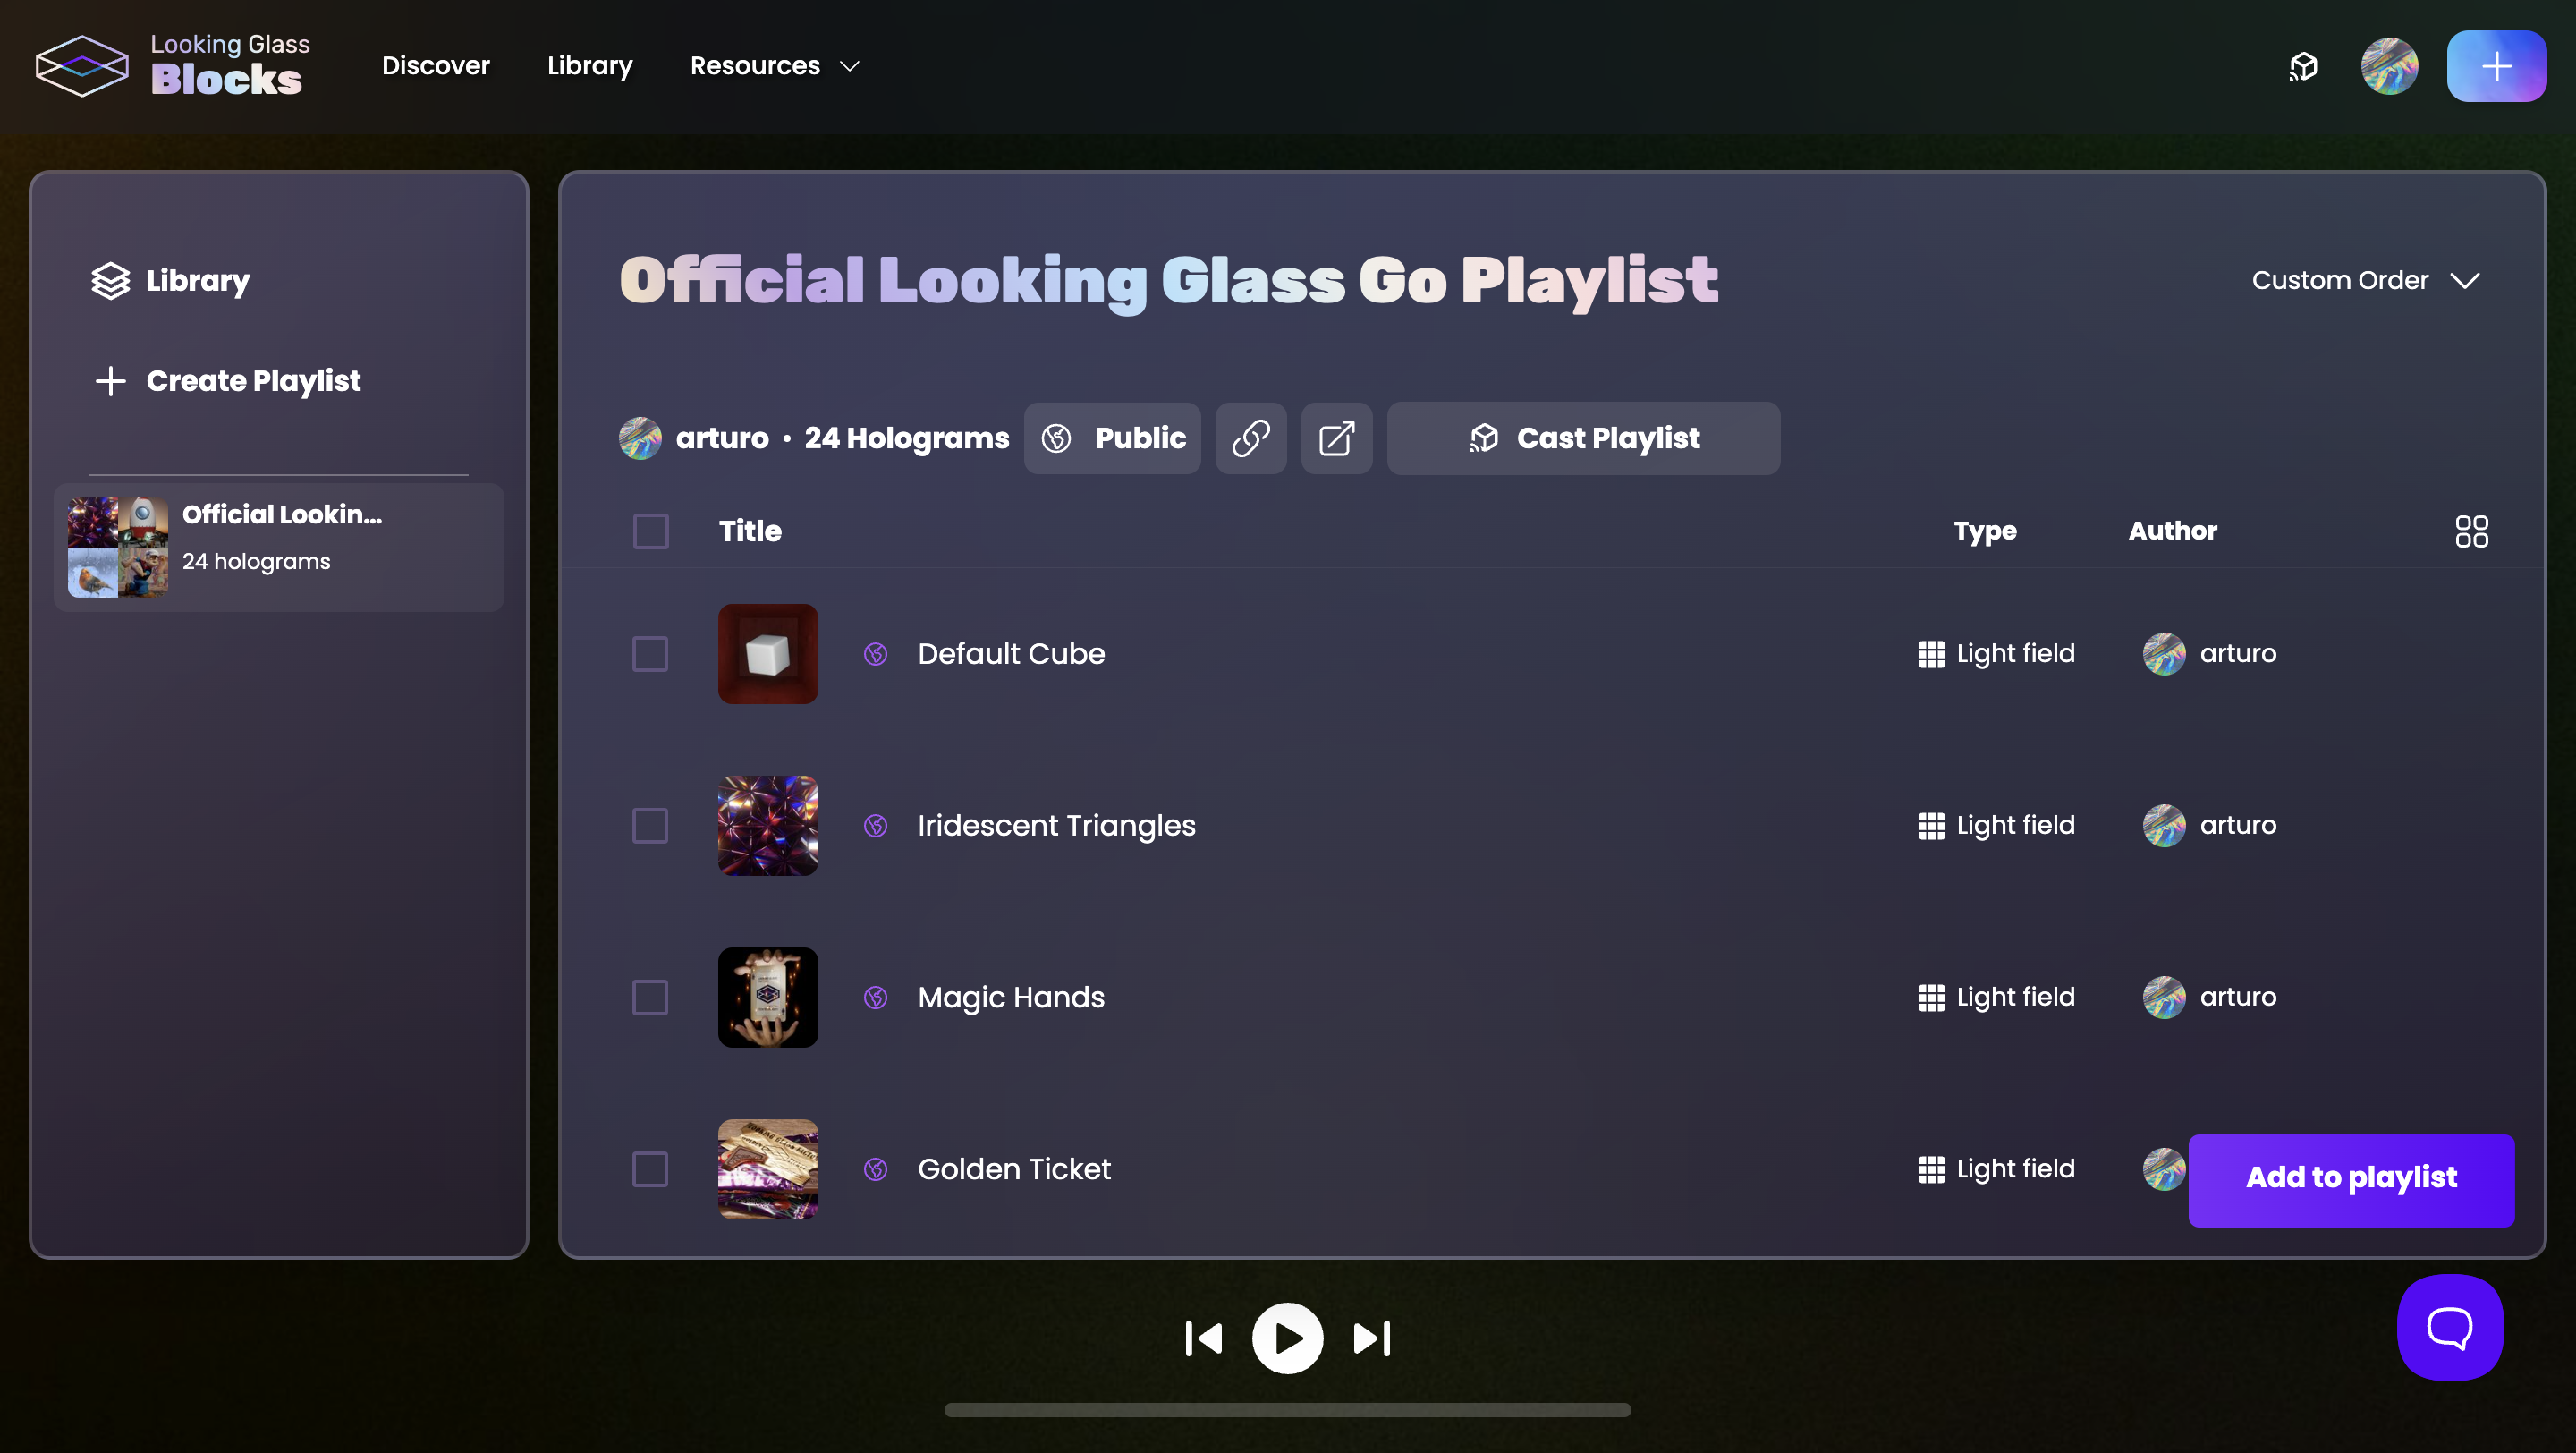
To create hologram playlists for your Looking Glass Go, sign into your Blocks account and under the Library menu, select Create Playlist. Give your playlist a title and a description, and select Create to finish creating your playlist.

You can now add any of your existing holograms to this playlist by selecting them from the Add to Playlist button, which will show you a list of all of the holograms on your own account.

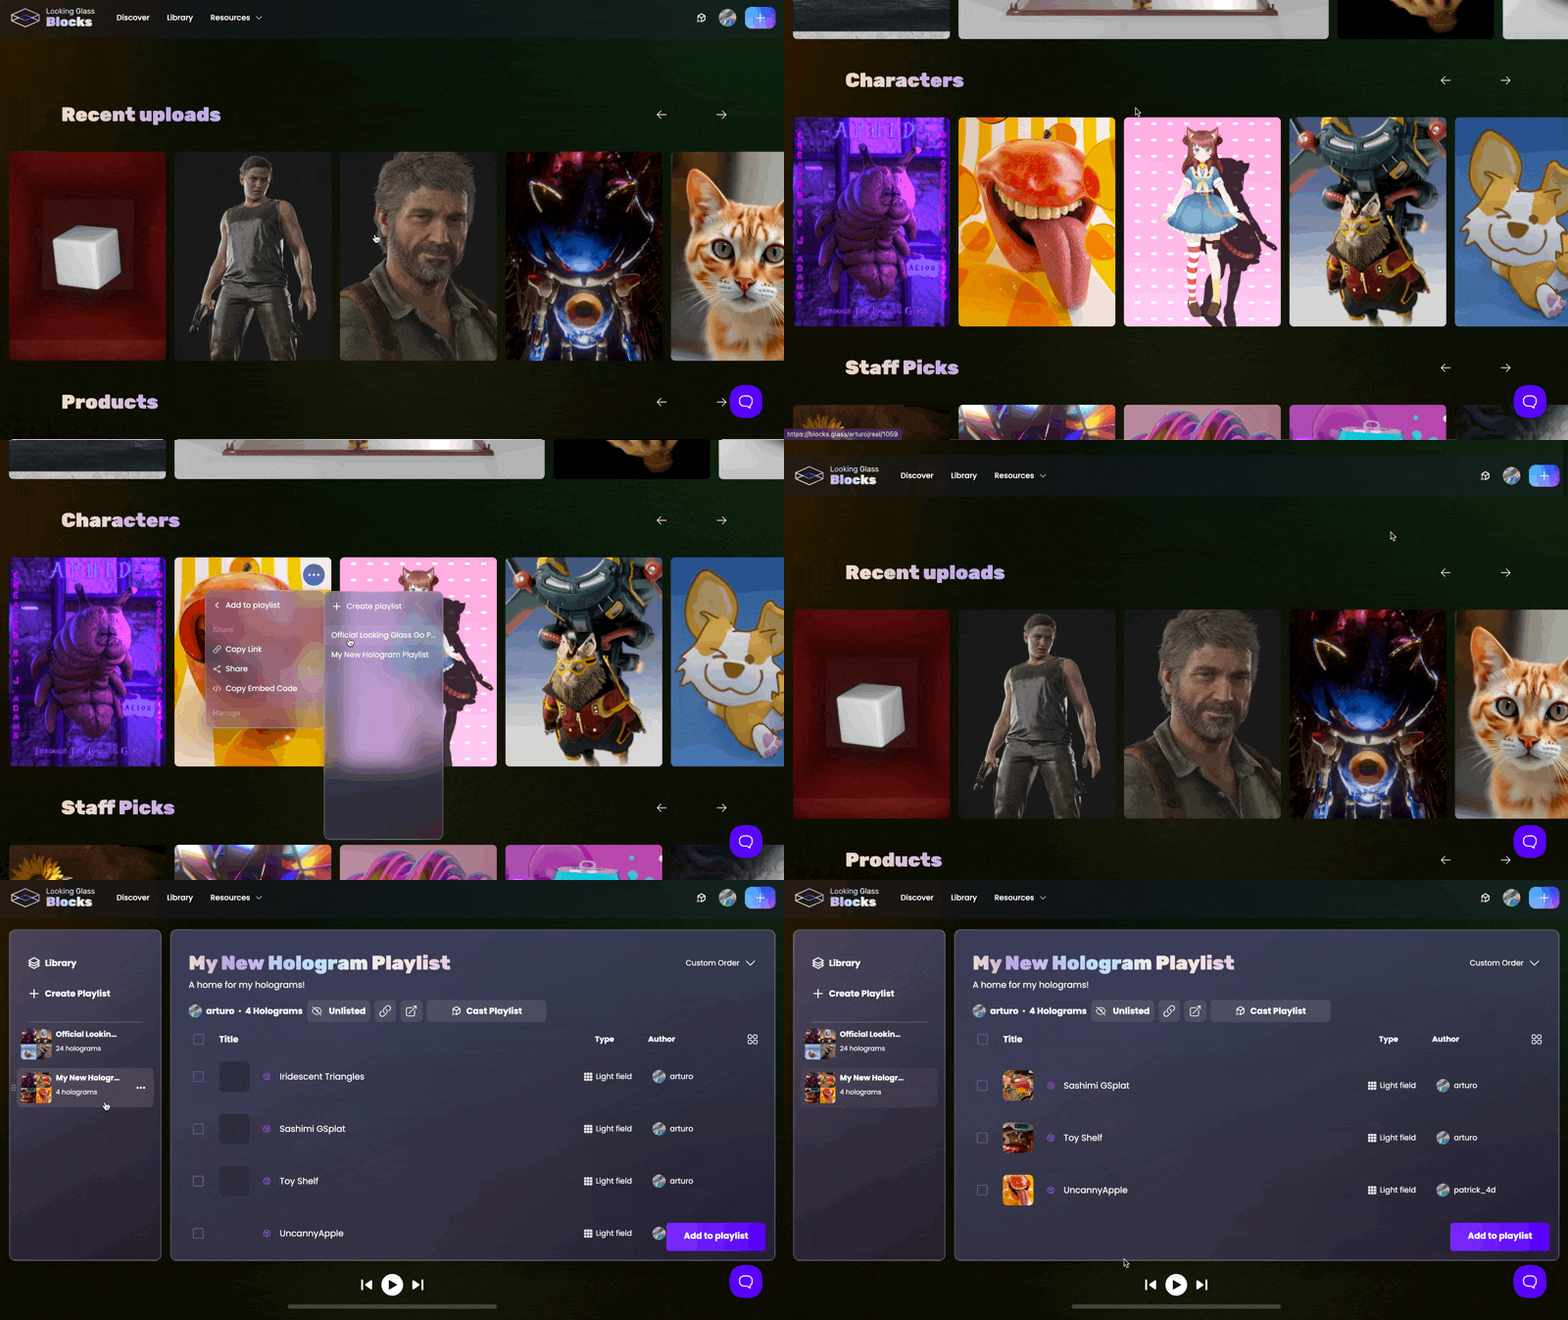
To add holograms from the Discover page (or anywhere else on Blocks), hover over the hologram preview, and click on the ... button to select Add to playlist to add the hologram to your desired playlist.

When adding holograms to your playlist, you should note that you will not be able to edit the focus, depth, or zoom values for holograms that aren't your own.
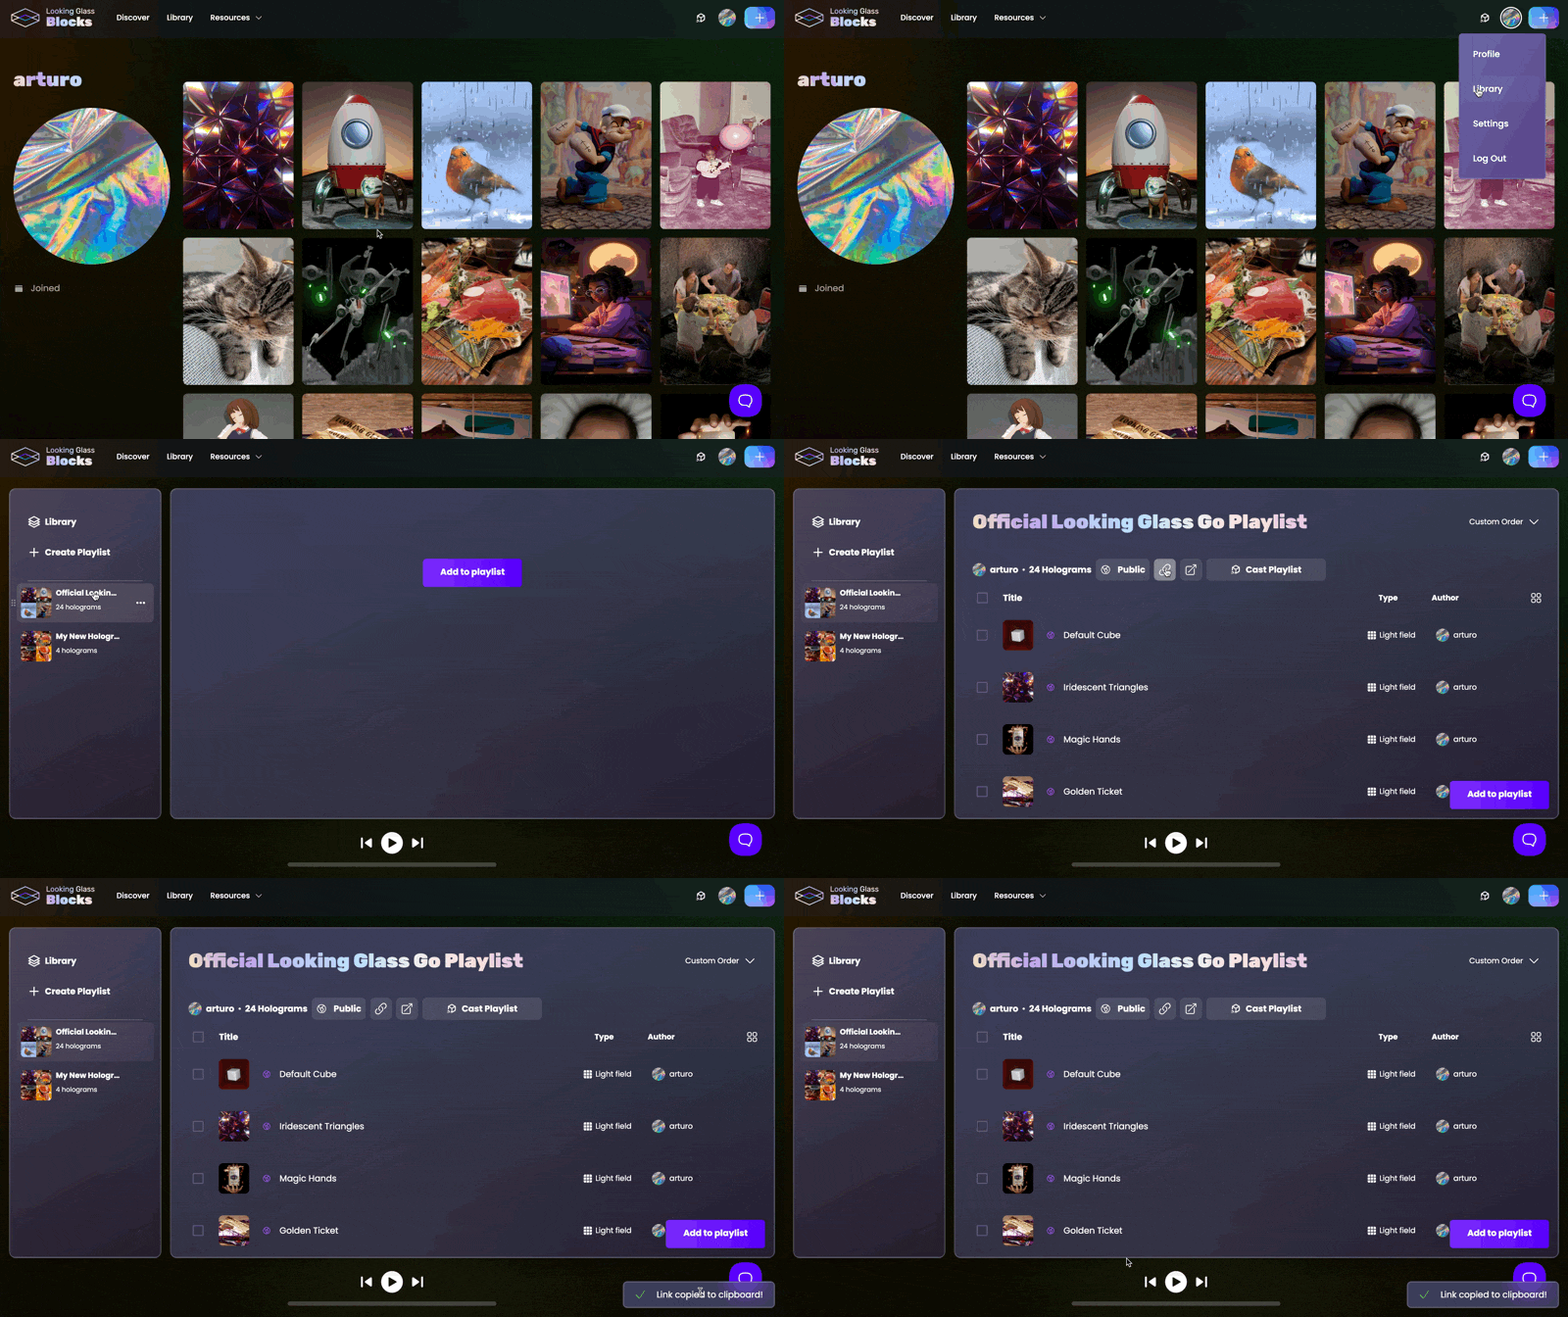
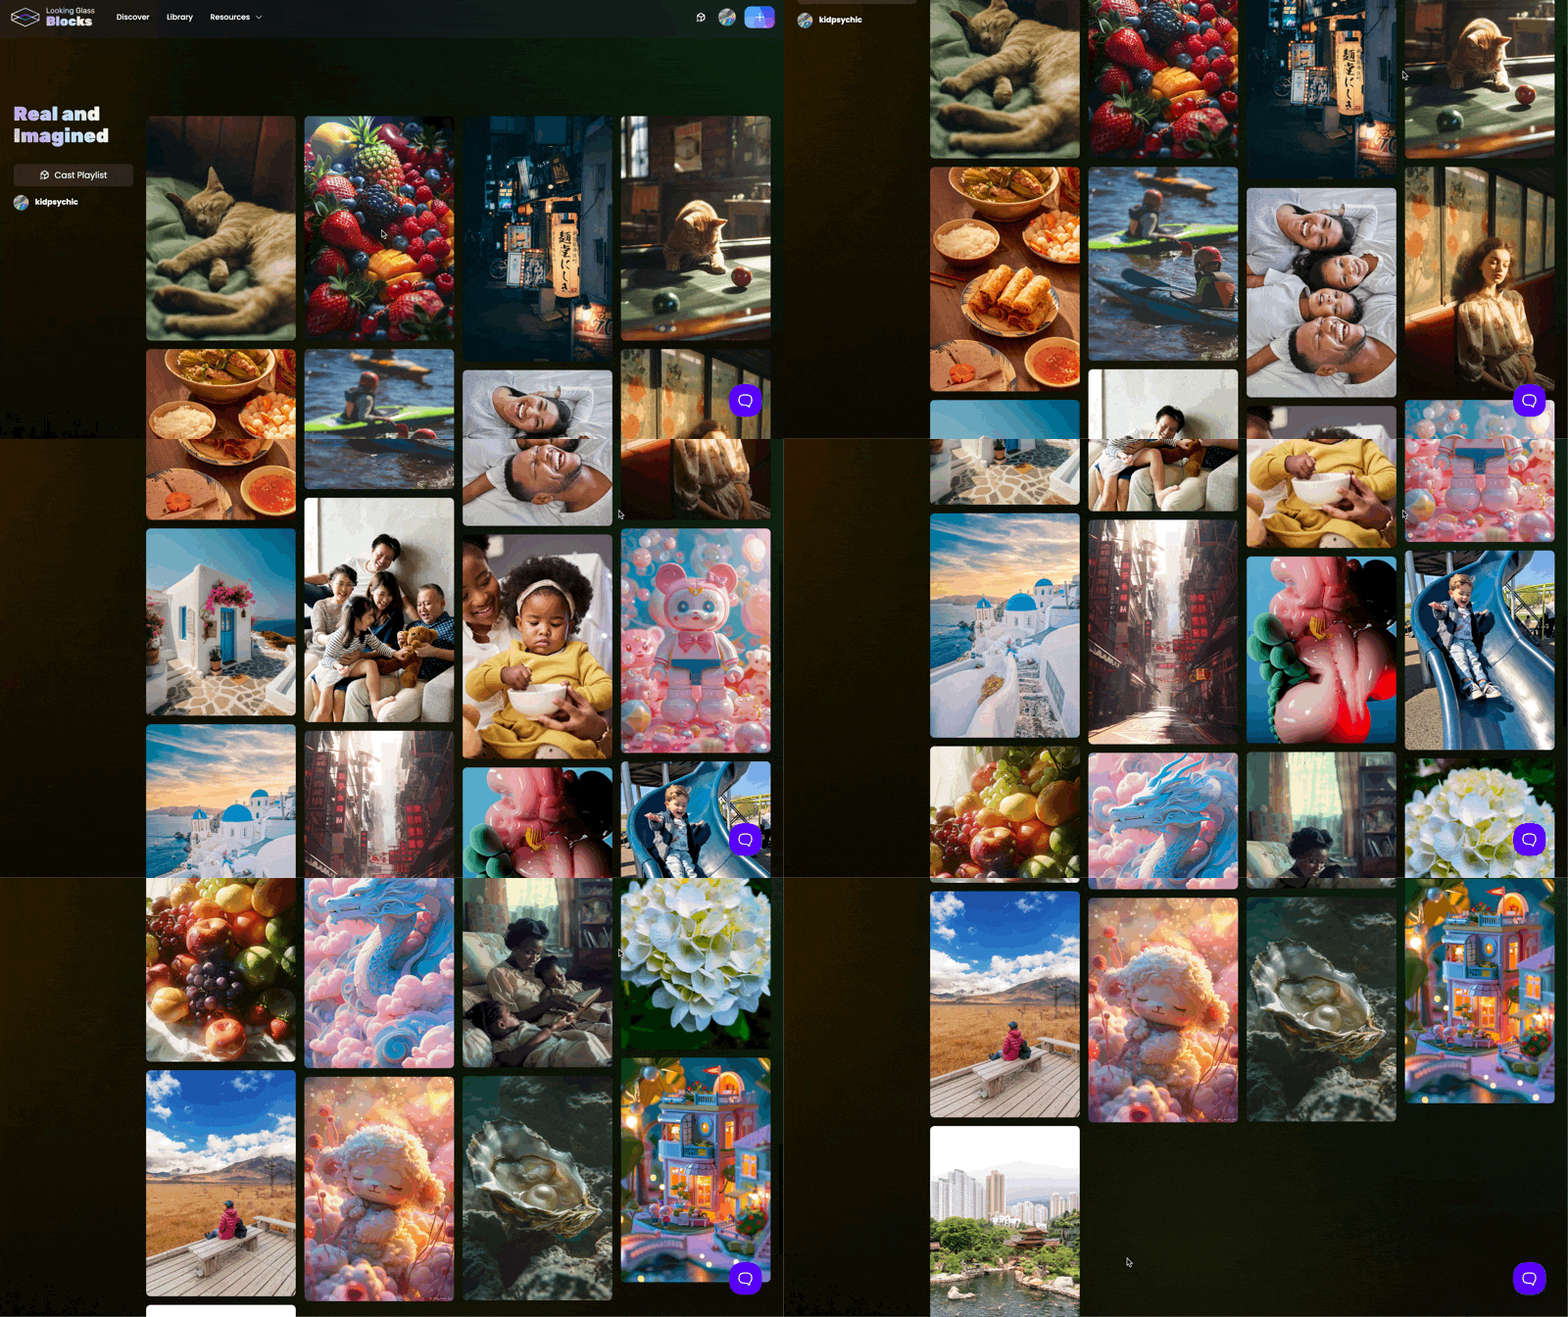
To share a playlist, head to the playlist's page in your Library and press or click on the 🔗 symbol. This will copy your playlist's link to your clipboard for sharing.

Check out this example playlist made by our own Missy Senteio!
[Illustration]

To sync your playlist to your Looking Glass Go, you must first register and connect your Go to your Looking Glass account. Then, from within the Library page, under Devices, select your Looking Glass Go and Choose Playlist to Sync. After selecting the playlist you wish to sync, you will see an indication of the syncing process on the Playlists page and the changes reflected on your Looking Glass Go.

Any changes you make to your playlists on the mobile app or on the web will be synced to your Blocks account. Any changes you make to the playlist synced to your Looking Glass Go will be reflected on your Go as long as the device is connected to WiFi.

Playlists are a way of curating a looping series of holograms that can be displayed and stored on your Looking Glass Go.
Syncing and updating hologram playlists on your device may take some time depending on how many holograms you are syncing.

Last updated