> For the complete documentation index, see [llms.txt](https://lfdocs.lookingglassfactory.com/llms.txt). Markdown versions of documentation pages are available by appending `.md` to page URLs; this page is available as [Markdown](https://lfdocs.lookingglassfactory.com/getting-started/looking-glass-go/standalone-and-desktop-modes.md).
# Standalone and Desktop Modes
{% hint style="info" %}
If you have trouble getting your Go to power on, check out our [troubleshooting guide](/getting-started/looking-glass-go/troubleshooting.md).
{% endhint %}
{% hint style="info" %}
The Looking Glass Go will **not** work with USB-A to USB-C cables. We **strongly** recommend using the included USB-C cable with the Go.
{% endhint %}
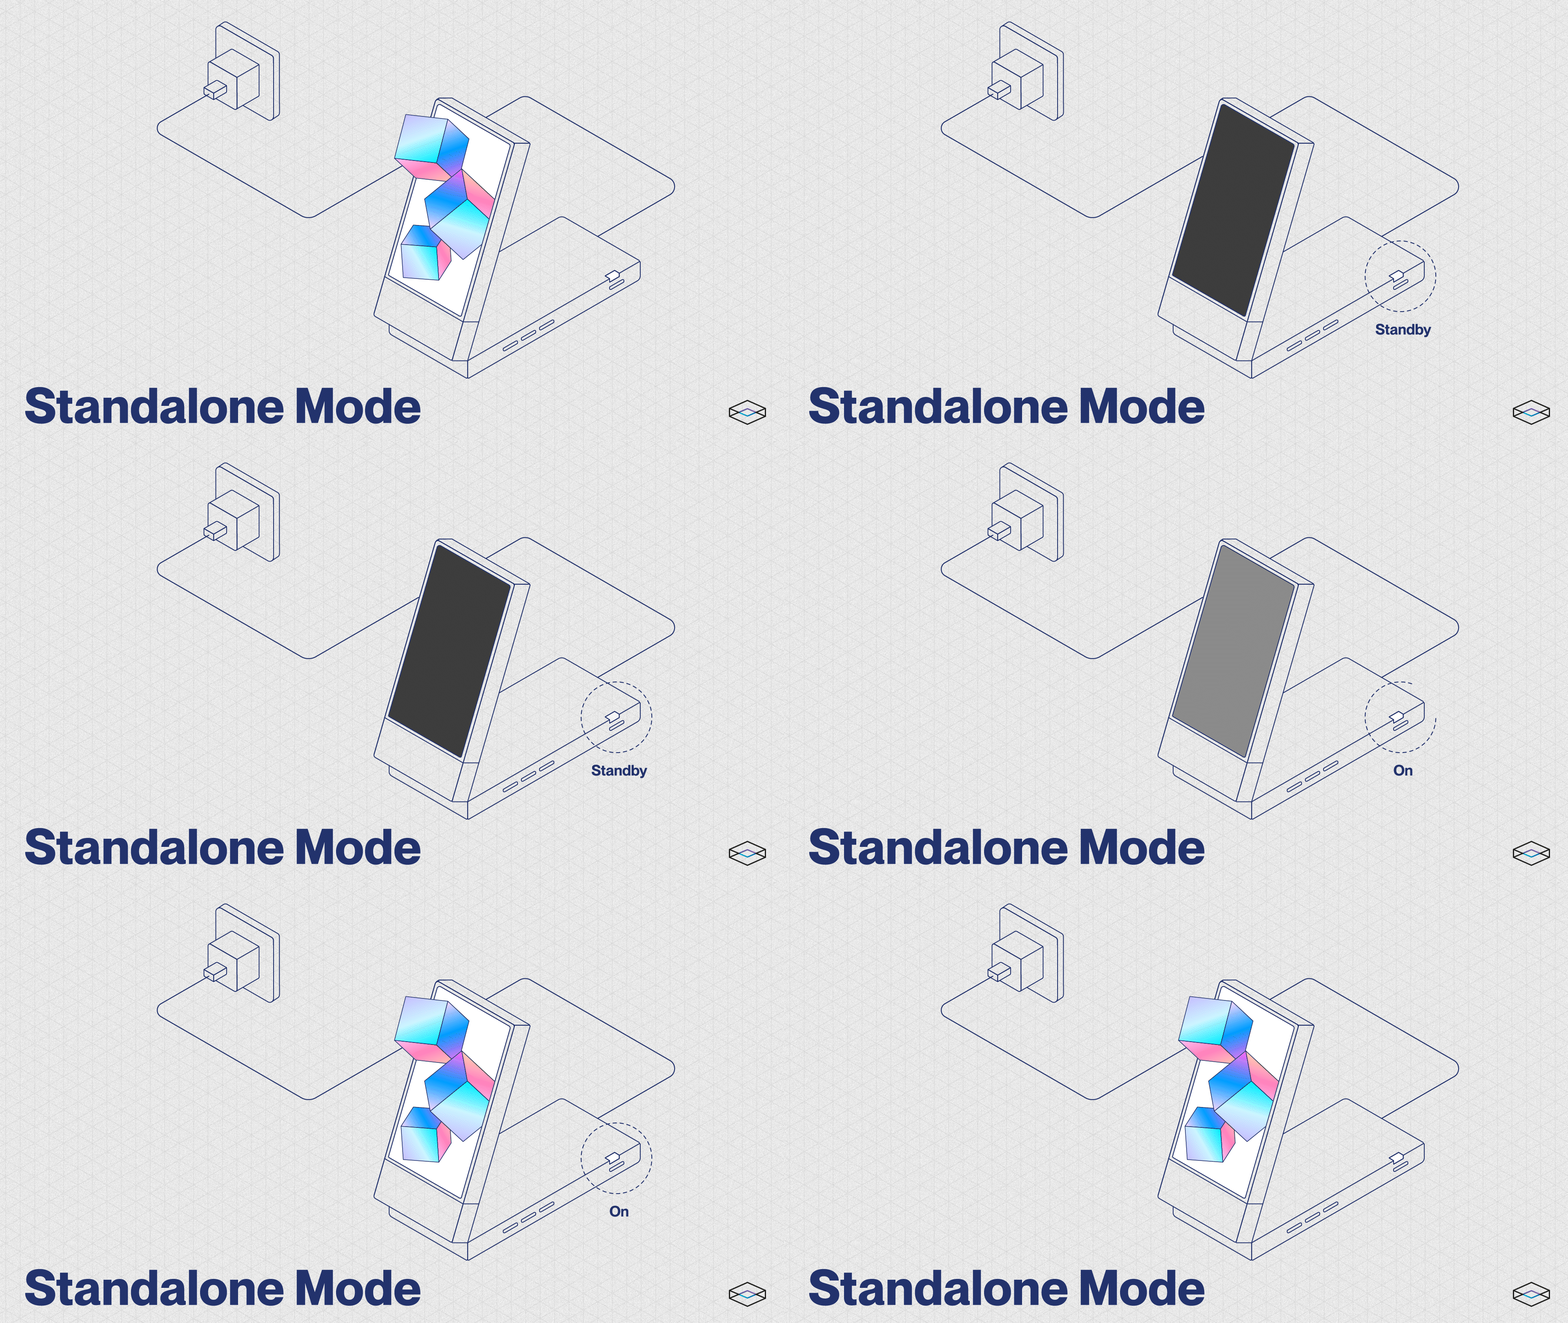
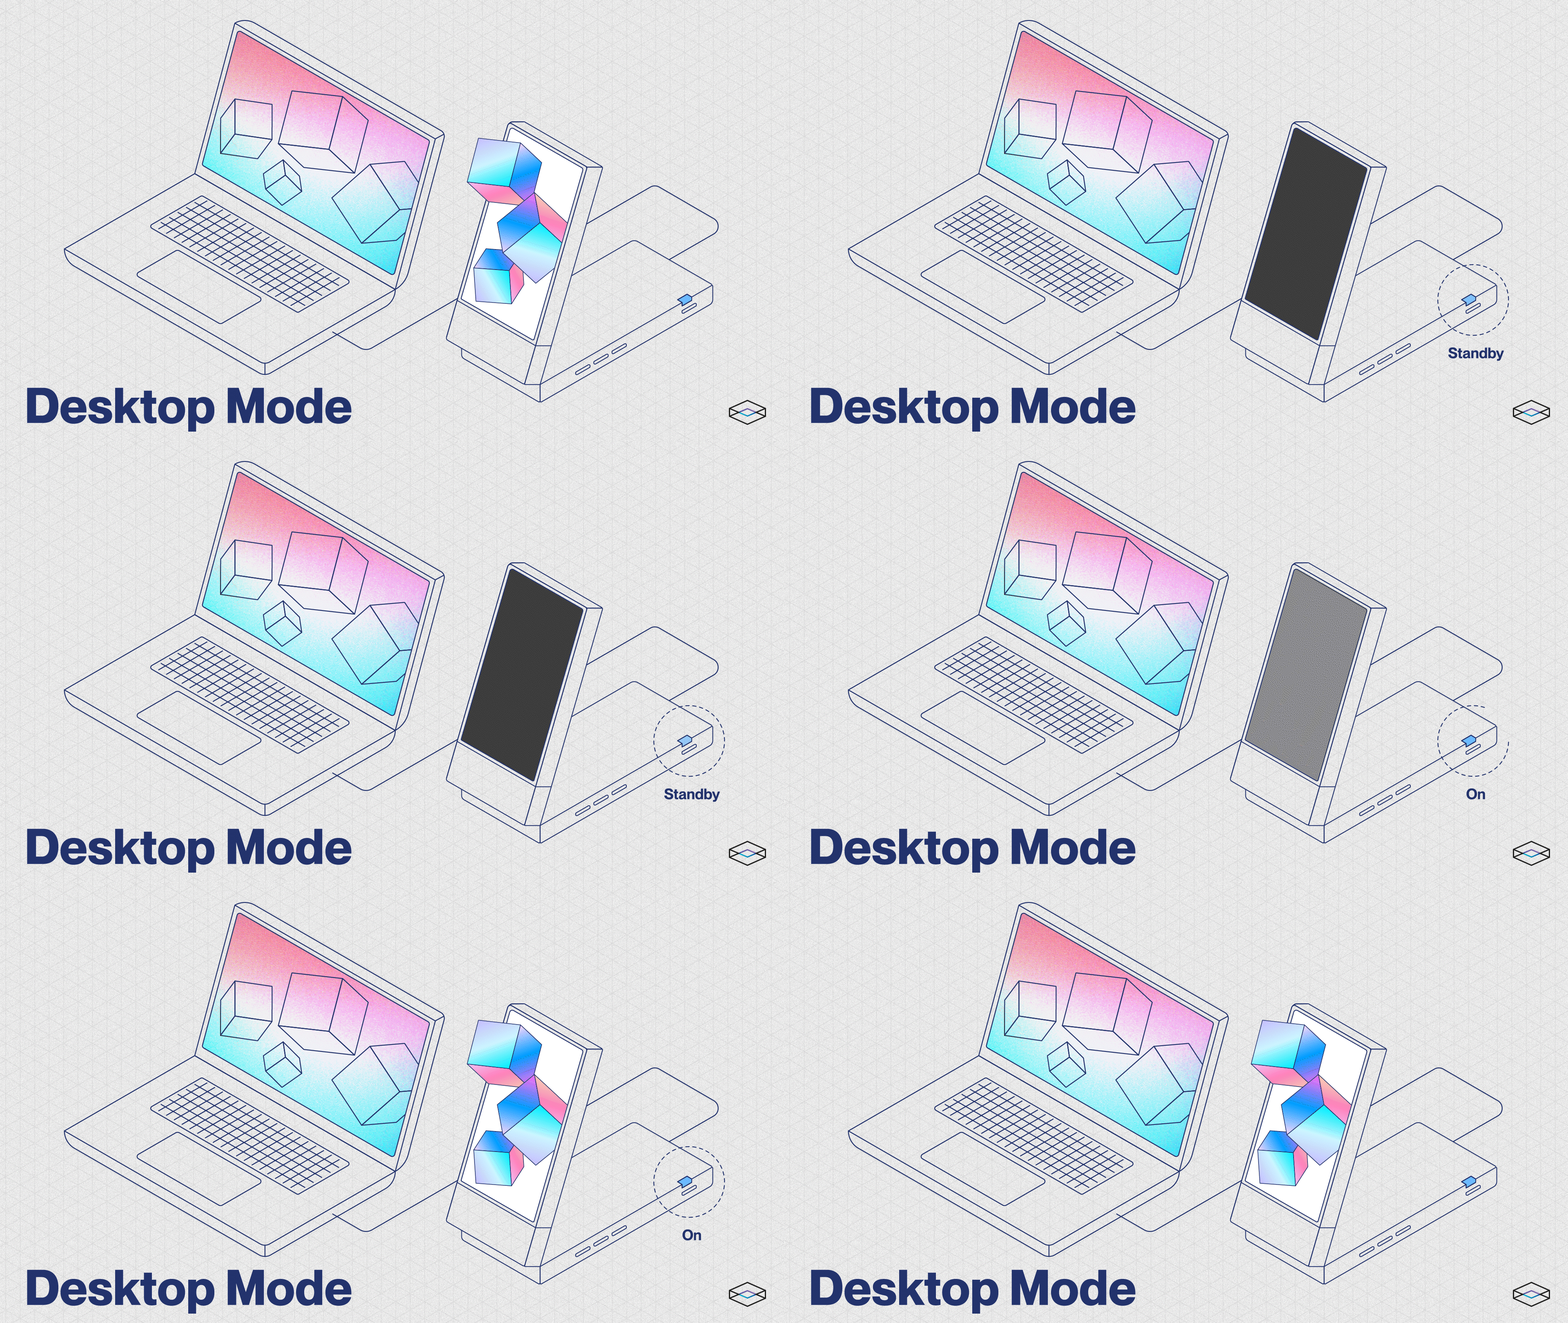
The Looking Glass Go can be used in two different modes, Standalone Mode and Desktop Mode.\
\
In Standalone Mode the display only requires power. The Looking Glass Go can be powered by the included power adapter, a capable USB-C port on your computer, or the battery accessory.
### Standalone Mode
Once you've got the Go plugged into power, tap the power button to boot into Standalone Mode.
If your Looking Glass Go is connected to a computer, you'll need to tap the power button again to switch the Go from Desktop Mode to Standalone Mode. In this mode you can connect the Go to Wi-Fi using the [**Looking Glass Go mobile app**](/getting-started/looking-glass-go/using-the-mobile-app.md) and load content from [**Blocks**](https://blocks.glass).
### Desktop Mode
Desktop Mode allows you to use your Looking Glass with your Mac, Windows, or Linux computer and use software like [Liteforms](/legacy/legacy-software/liteforms.md) and [Blocks](/software/looking-glass-blocks.md), as well as create your own applications using our integrations with tools like [Blender](/software/creator-tools/index-1.md), [Unity](/software/index.md), [Unreal Engine](/software/creator-tools/index.md), [WebXR](/software/creator-tools/webxr.md) and[ ](broken://pages/-MX37dkFZEv9vlTCEAbL)more.
{% hint style="info" %}
In order to use Desktop Mode, your computer must be able output a 4K video signal via USB-C. If you do not have a USB-C port with Display Port Alt Mode and need to connect your Go using an HDMI cable, we recommend using [this adapter](https://checkout.lookingglassfactory.com/products/looking-glass-go-hdmi-cable).
{% endhint %}
### Adjusting Display Settings
Follow the guides below to ensure that your display settings are correct.
{% content-ref url="/pages/SqewUHfu4KKIY6xsYo1z" %}
[Display Settings on Windows](/software/looking-glass-bridge/display-settings-on-windows.md)
{% endcontent-ref %}
{% content-ref url="/pages/ypLgTeSrQP71utINd55a" %}
[Display Settings on macOS](/software/looking-glass-bridge/display-settings-on-macos.md)
{% endcontent-ref %}
{% content-ref url="/pages/yapPbuHzpWTgdZDY4lZm" %}
[Display Settings on Linux](/software/looking-glass-bridge/display-settings-on-linux.md)
{% endcontent-ref %}
## Software Requirements
In order to use your Looking Glass in Desktop Mode, you'll first need to install Looking Glass Bridge. You can download Looking Glass Bridge [here](/software/looking-glass-bridge.md).
Once Looking Glass Bridge is installed, run the test below and you should see a hologram appear on your display. That means it's working!
For more information about Looking Glass Bridge, visit the Bridge documentation [here](/software/looking-glass-bridge/using-looking-glass-bridge.md).
{% embed url="" %}